• Hey, guest user. Hope you're enjoying NeoGAF! Have you considered registering for an account? Come join us and add your take to the daily discourse.

2017 PC Screenshot Thread

MrPickle

Member
Those are pretty cool! Stylish shots.
Glad you like them!

33378002580_829b2a56b3_o.png


32919391924_317164b0a1_o.png
 

Lime

Member
Really liking those shots Lime.

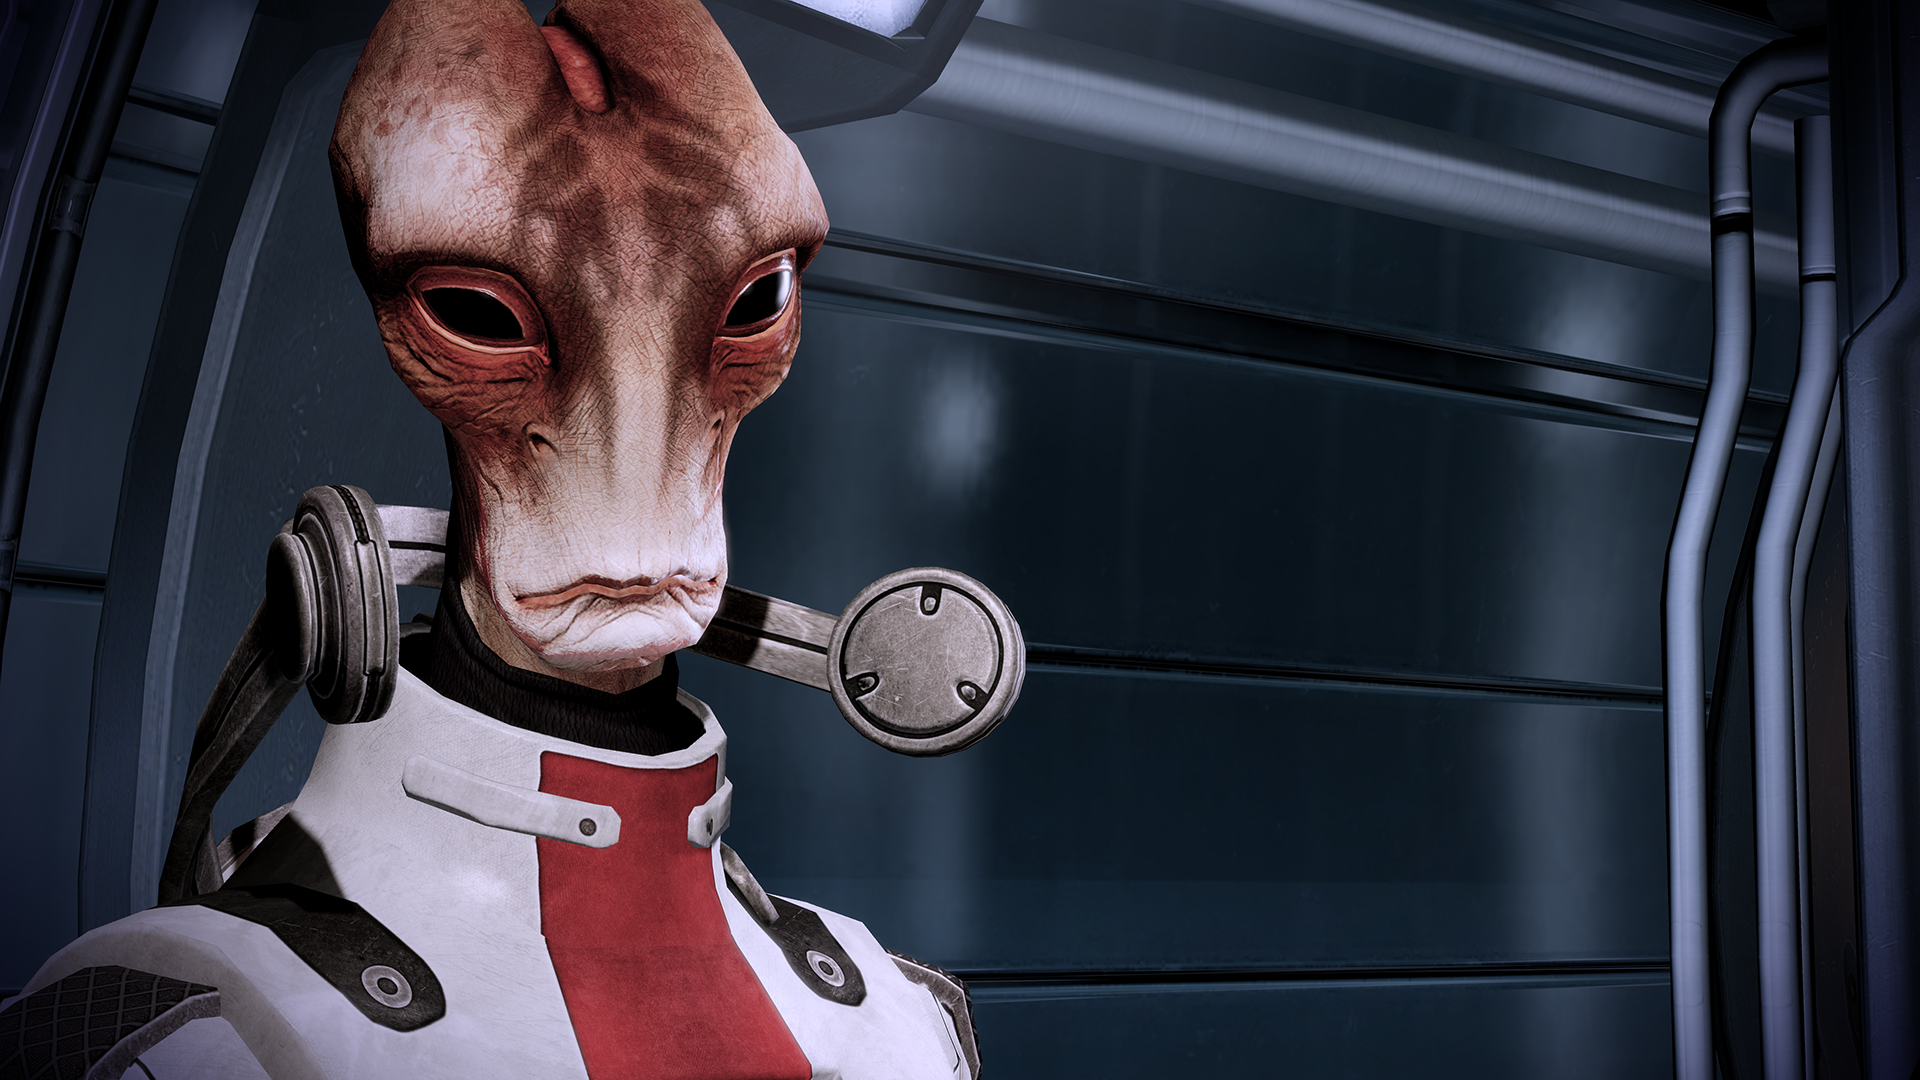
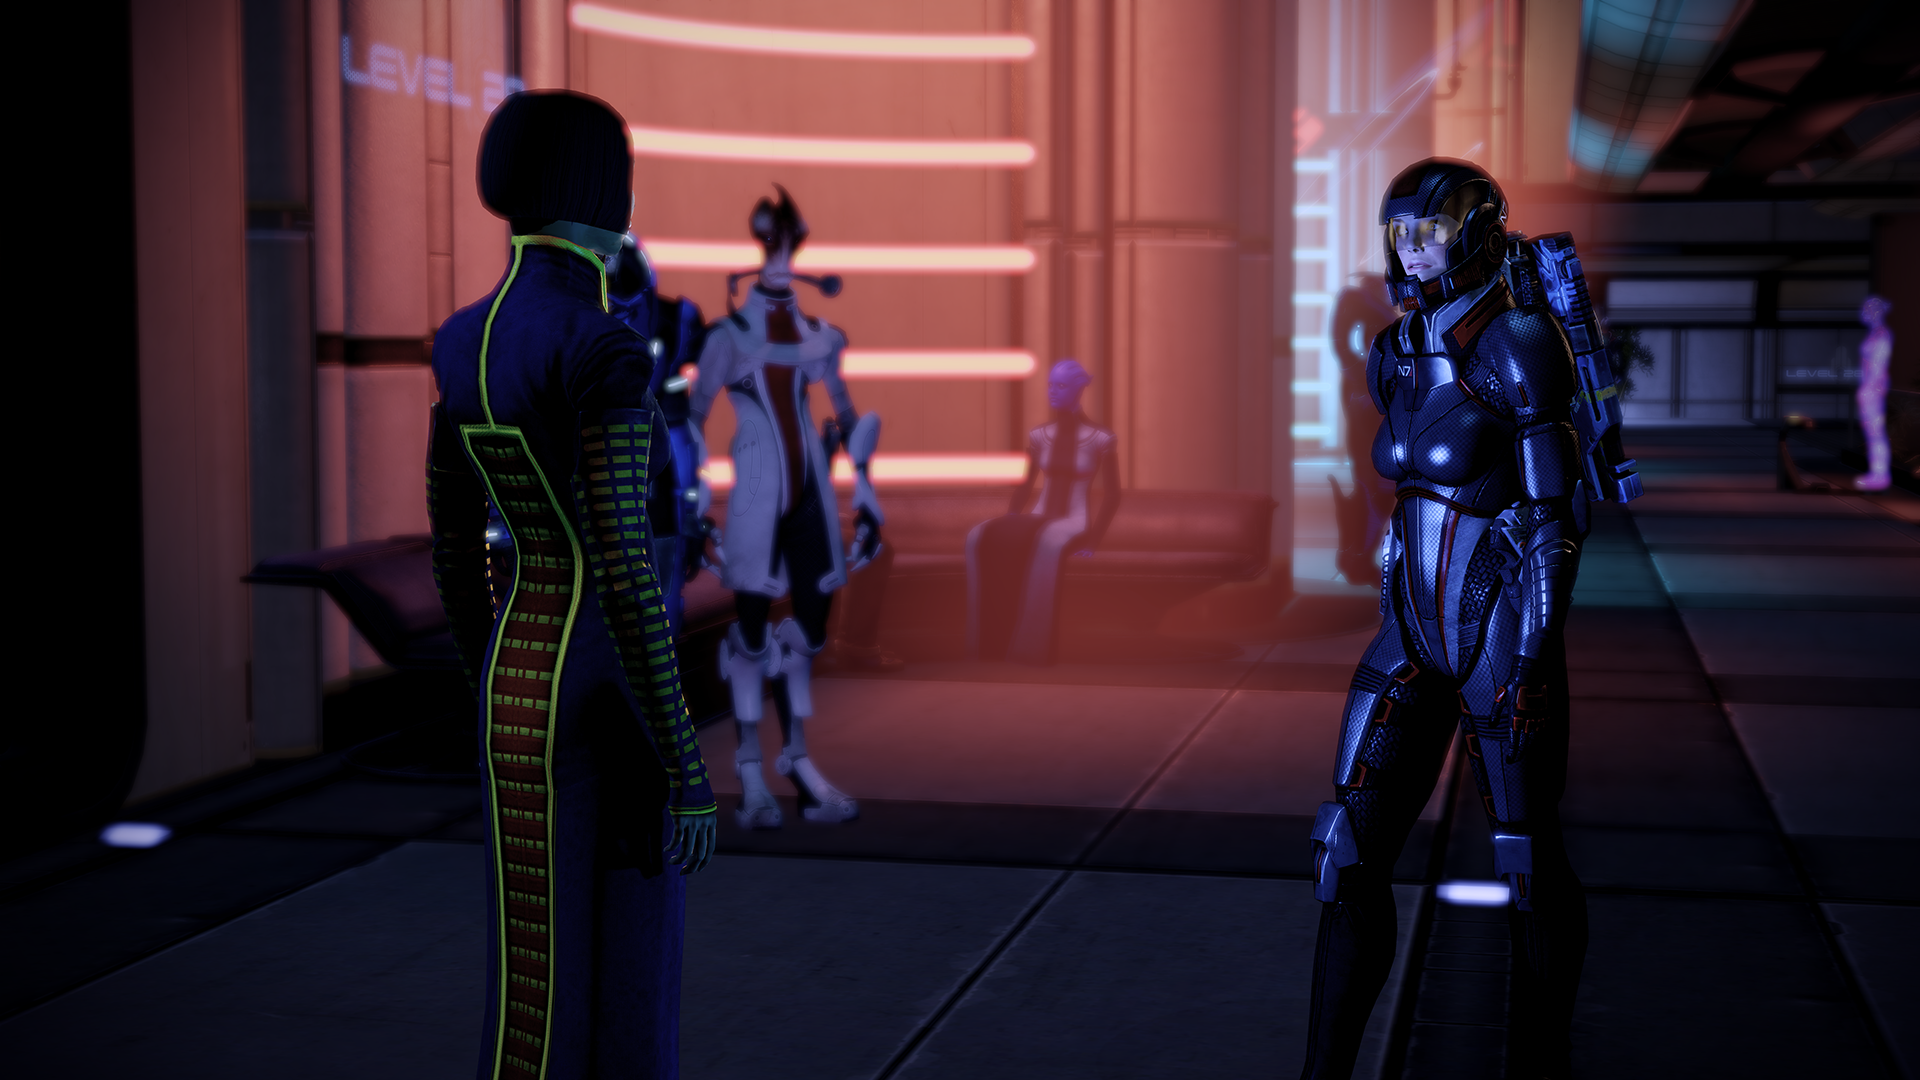
I just replayed a couple years ago, but man do i have a Mass Effect-sized hole in my heart where Andromeda was supposed to go, and it's really making me want to replay the trilogy.

It's really impressive what the texture packs do to make the game look "modern"

Thank you RedlineRonin, the only thing that's missing is better lighting and the game would feel much more updated. The game is also really nice to sit and play with a controller on your TV in >4K resolution with all those texture mods and a hint of post-processing via GeDoSato or Reshade
 

chekhonte

Member
uxgdqbQ.jpg


Genuinely impressed with how much detail is in the onion knight armor. Using reshade to tweak the black levels and dsfix to improve texture filtering it's downright impressive. You can tell the artist who made this was really proud of it.
 

Durante

Member
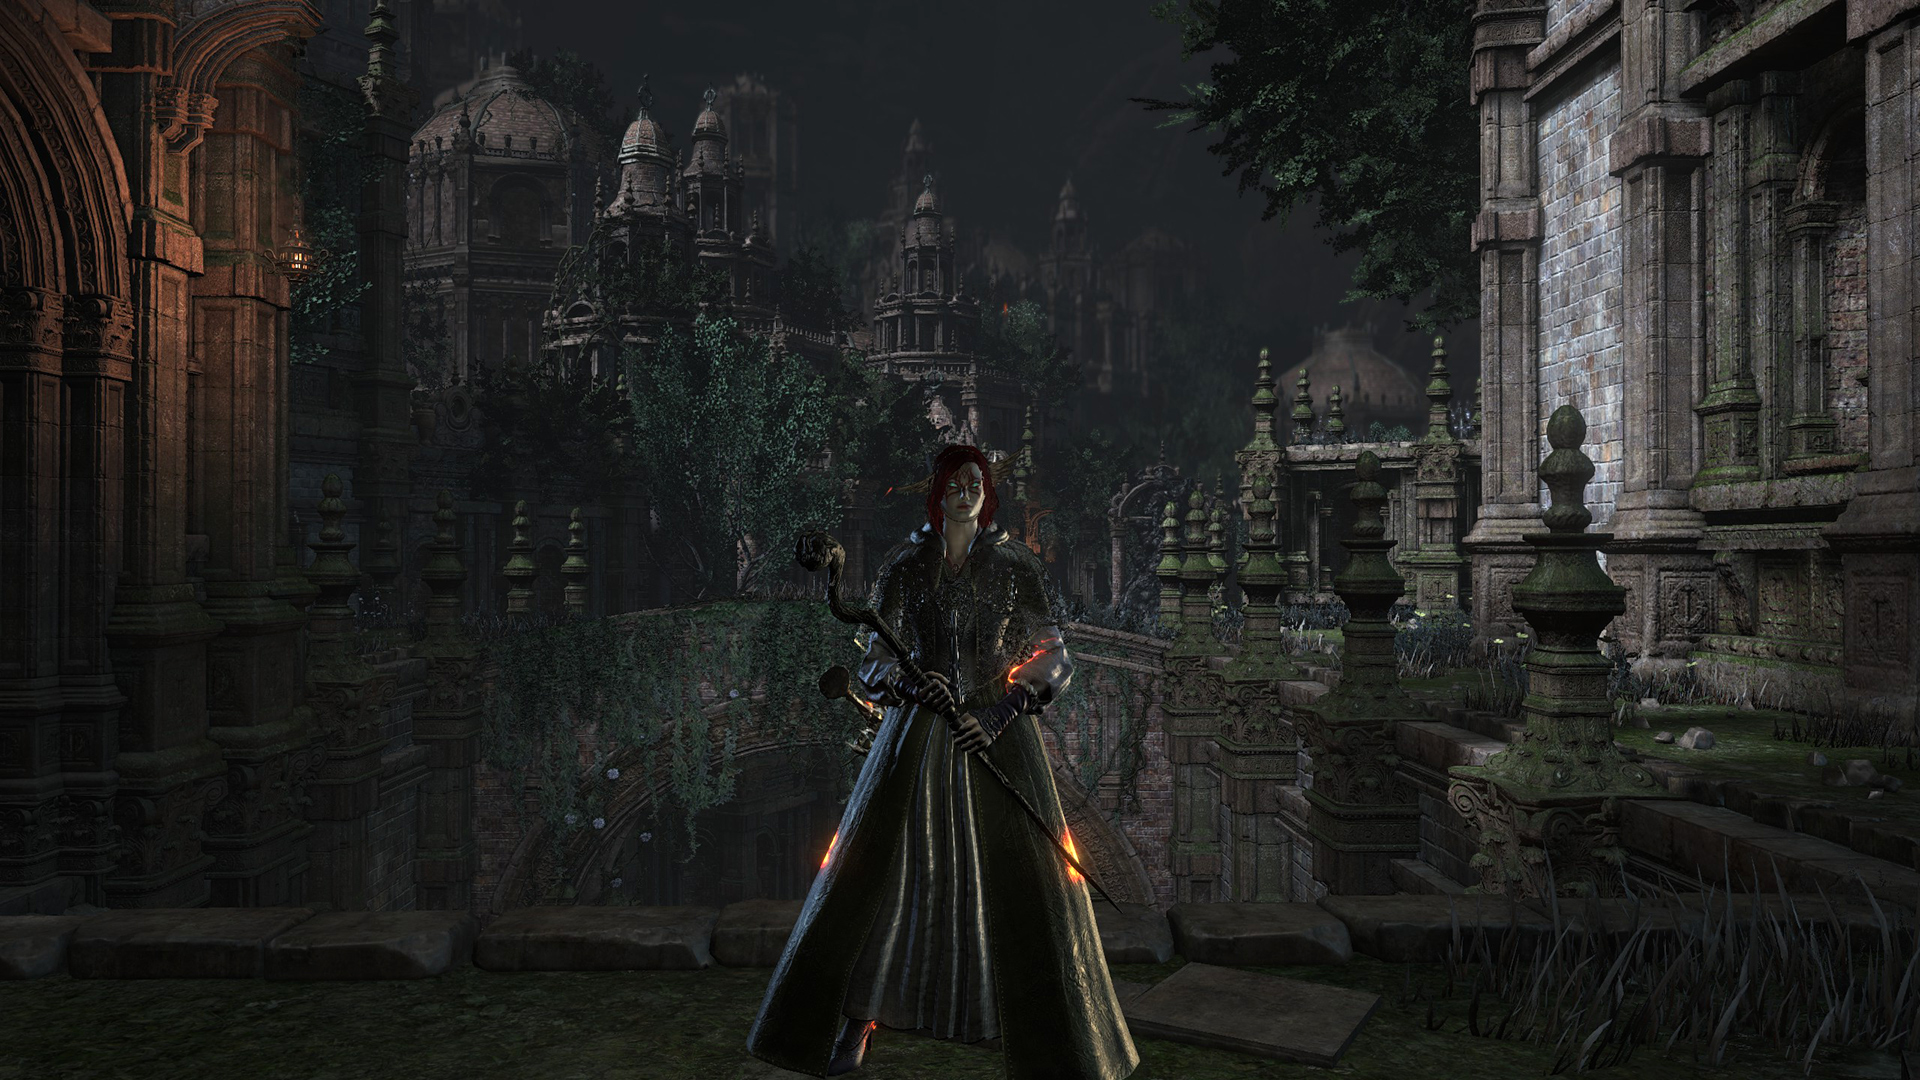
Since I've now completely completed Dark Souls 3 I thought I'd post a last (if a bit boring) screenshot of my 99 Int character.

20170401213227_1dvqed.jpg
 

OtisInf

Member
33392189290_ce99f1abed_o.jpg


Tools will come tomorrow, I didn't have time to wrap things up and test a release build (C++ optimized builds are sometimes breaking in release build, so one needs to test these separately). Hud toggle, timestop (gamespeed), fov, camera. Stay tuned :)
 

MrPickle

Member
33394344230_dfbc9d065d_o.png


33394898150_f16cde007b_o.png


Tools will come tomorrow, I didn't have time to wrap things up and test a release build (C++ optimized builds are sometimes breaking in release build, so one needs to test these separately). Hud toggle, timestop (gamespeed), fov, camera. Stay tuned :)

Awesome news!

I find it amusing how badly the Ansel camera movement was restricted in WD2. Your tools will be very handy to say the least.
Was it difficult to do with their EAC?
 

OtisInf

Member
Awesome news!
:)

I find it amusing how badly the Ansel camera movement was restricted in WD2. Your tools will be very handy to say the least.
Was it difficult to do with their EAC?
The ansel integration is indeed barely usable. EAC has to be disabled for this camera, otherwise no hooking into the exe is possible (you need to disable it already for reshade). So that's a thing one has to do but as it's for single player only I don't see the problem. AFAIK ubisoft doesn't ban ppl from disabling EAC in single player in this game (as 3d migoto users and trainer users have used the disable EAC route for some time now).

It was a very easy camera to find actually. Everything was neatly packed together: coords, rotation angles and fov which was a first. They do have a bug in the engine tho, the tilt angle is applied in the wrong order (so rotating up and then applying tilt will not rotate around the look direction) but it's a minor detail ;) I couldn't find Time of day though. In the previous game it was there but in this engine version it's nowhere to be found. Oh well...
 

Seyavesh

Member
need to figure out a way to remove the HUD/UI elements like assist/combo counter popups, but can't find the right file for 'em

QYQP7ru.jpg

1D6aLhA.jpg
 

MrPickle

Member
33652897821_aa88c77f93_o.png


It was a very easy camera to find actually. Everything was neatly packed together: coords, rotation angles and fov which was a first. They do have a bug in the engine tho, the tilt angle is applied in the wrong order (so rotating up and then applying tilt will not rotate around the look direction) but it's a minor detail ;) I couldn't find Time of day though. In the previous game it was there but in this engine version it's nowhere to be found. Oh well...

That's good to hear, shame about the "time of day" though. Looking forward to the table when it gets released!
 

NattyDread

Neo Member
You can hide Ansel's side bar with alt-ins (insert)...or was it ctrl-ins, one of those two. Tested only in Andromeda tho so not sure about other games.

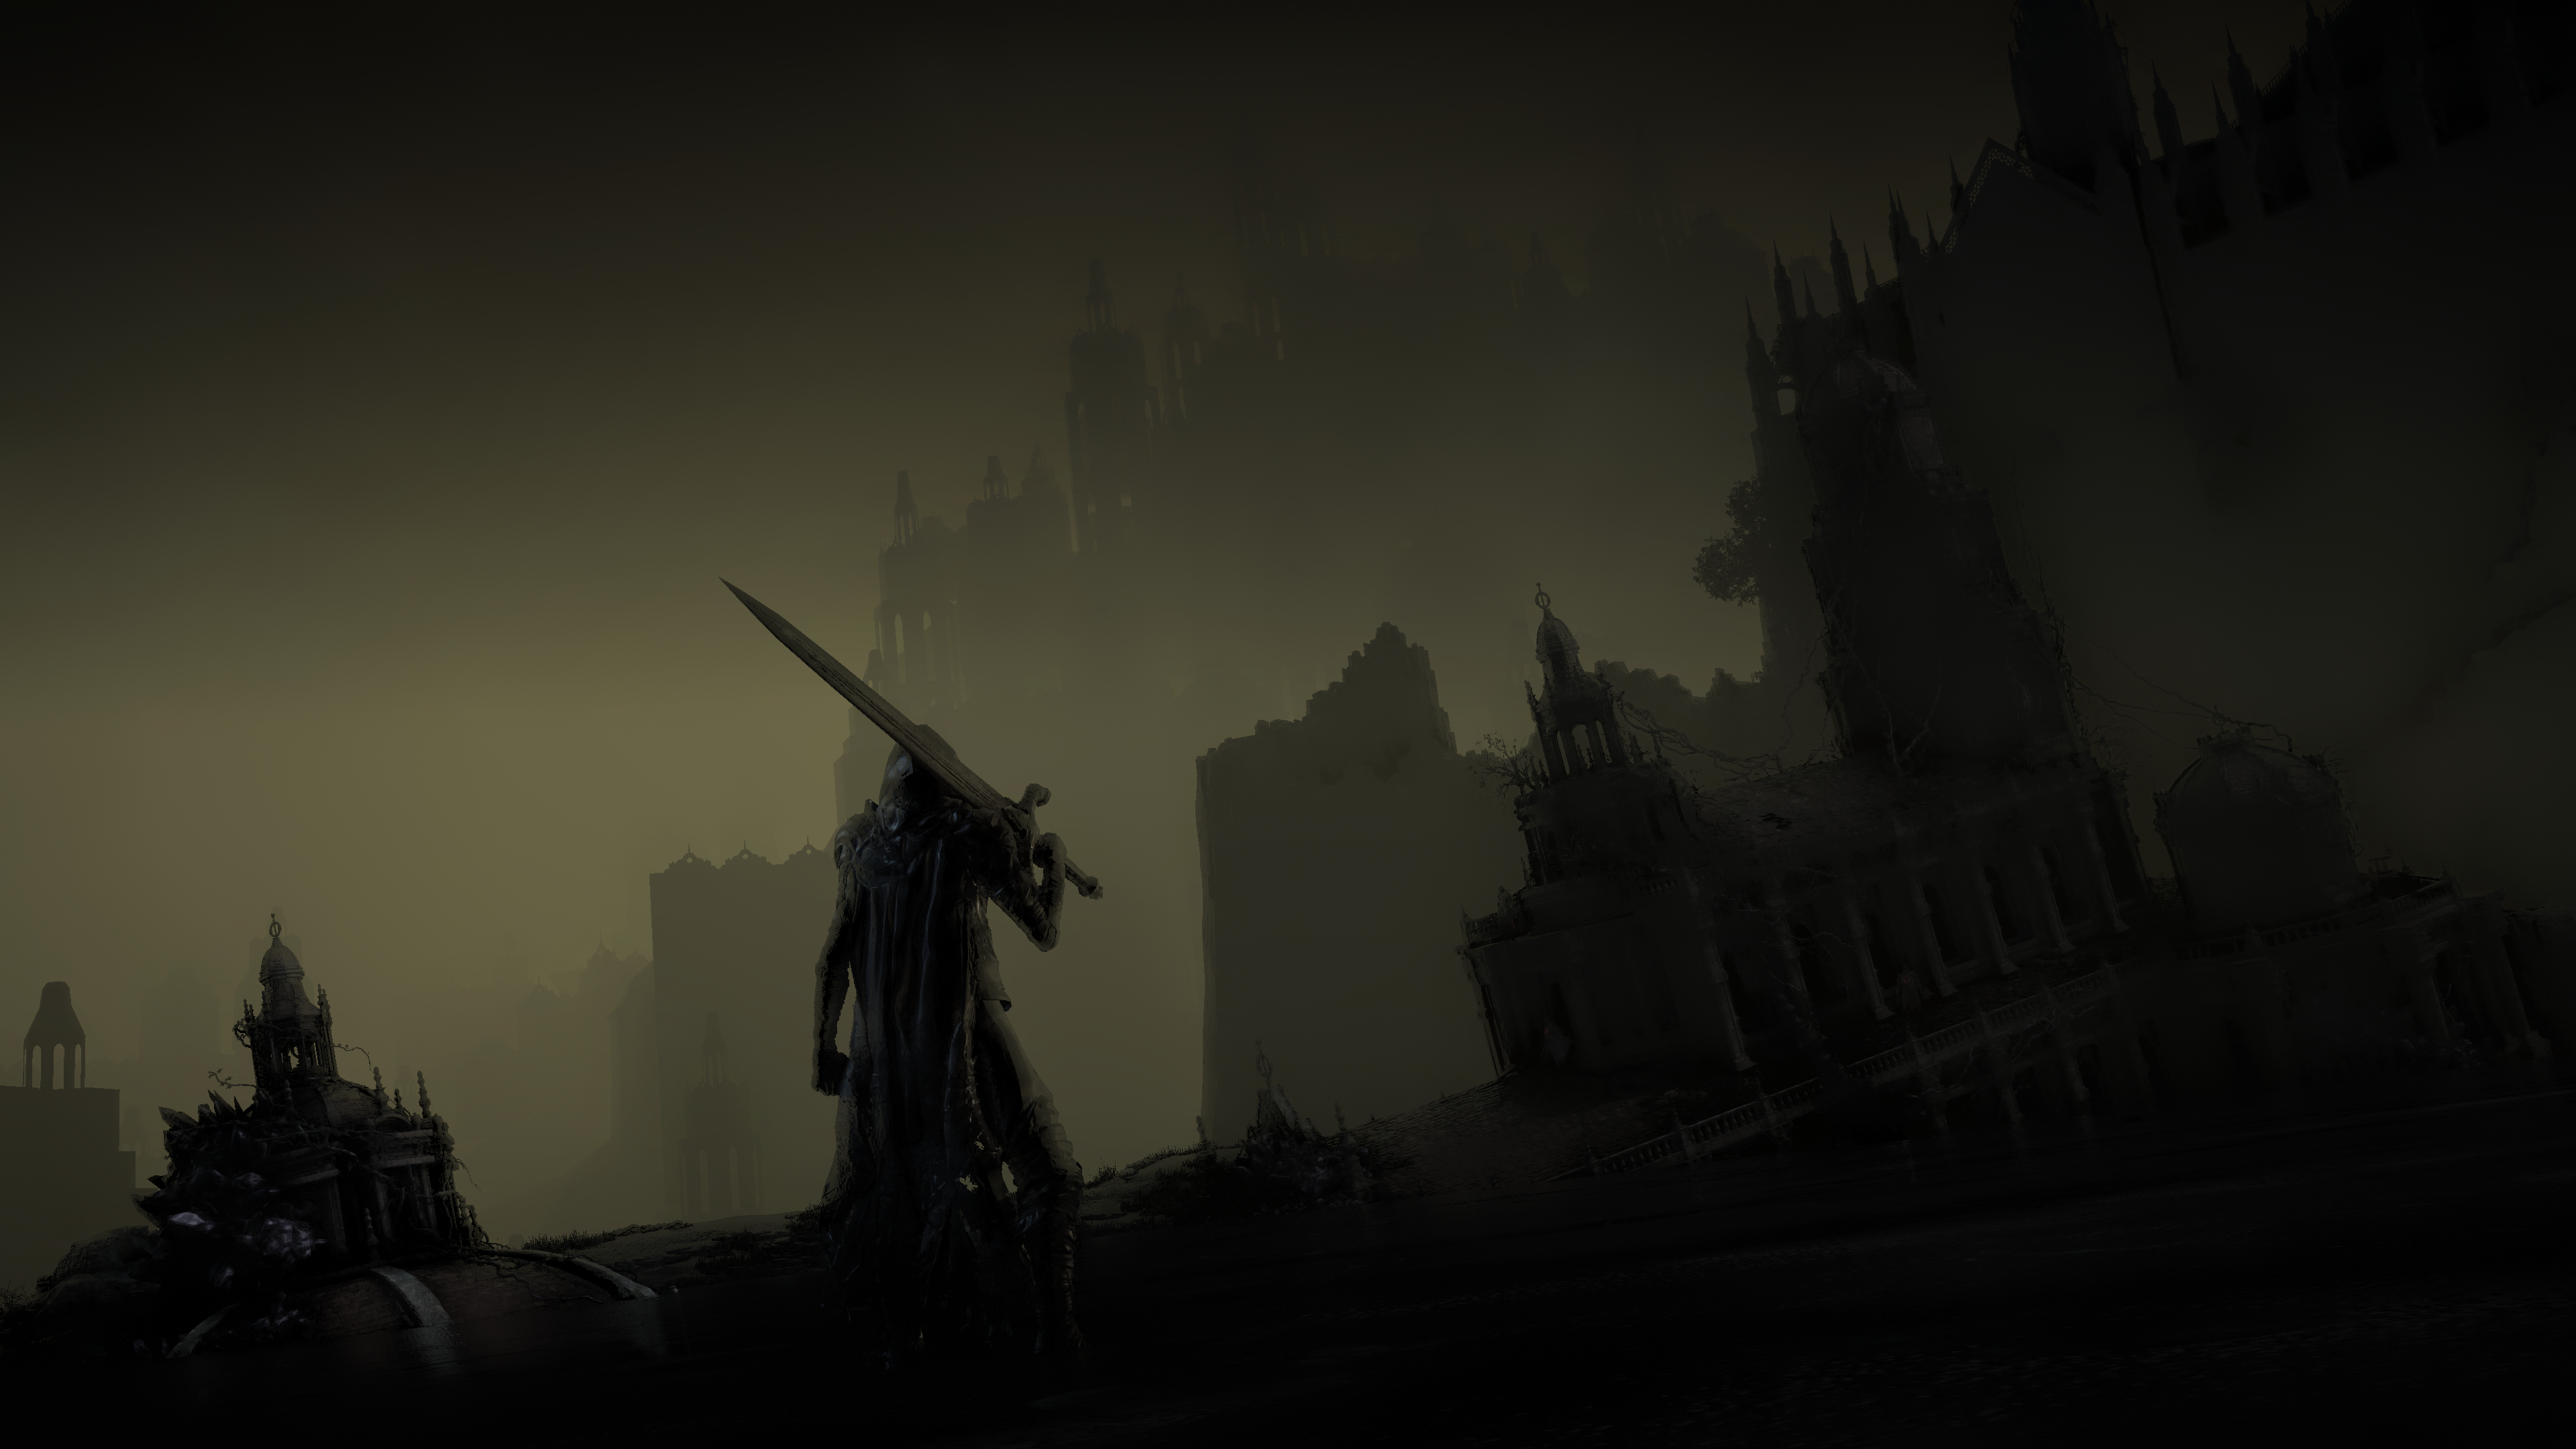
Here's some very dark Dark Souls (bright forum theme not recommended):

33746810805_c9b61872bd_o.png


I've started taking vanilla shots for comparison since I almost always go overboard with postprocessing:
first
second
 

amoebae

Member
Does anyone know if Frostbite allows a way to remove the vignette in its games? I've had a look through the console commands and didn't spot anything.

hattiwatti hasn't included that option in his ME:A Cinematic Tools yet, and it's driving me bonkers. I realised that Ansel, as well as removing AO, removes the vignette, which is precisely what I want (just without removing the AO, of course).

As a workaround, it's possible to:

  • Enable ME:A Cinematic Tools freecam
  • Set up the shot (inc. using SRWE for aspect ratio if required)
  • Activate Ansel to remove the vignette
  • Use ReShade to add back in some AO (and whatever other effects you want)

It's a pain in the arse, but Ansel's freecam activates just fine while the CinTools freecam is already enabled, and doesn't interfere with the CinTools freecam in any way.

It's especially annoying because I was using SSGI for its illumination, but its shadowing is appalling and I can't get 2 different types of AO to work (using 2.0.3), so I forego SSGI in favour of proper AO shadowing, or I keep the SSGI and put up with the vignette.
 
Does anyone know if Frostbite allows a way to remove the vignette in its games? I've had a look through the console commands and didn't spot anything.
You'll probably have to politely ask Hatti (on Twitter) to add that option. I'm sure it's not much trouble for him.
 

Alo81

Low Poly Gynecologist
Rendered at 5K, but screen scaling captured it at 2048x1152, so they've only been resized from that to 1920x1080.

cemu_2017_04_02_10_13_25_21_by_aloooo81-db4ezge.jpg


cemu_2017_04_02_10_01_56_42_by_aloooo81-db4ezie.jpg
 

OtisInf

Member

Alo81

Low Poly Gynecologist
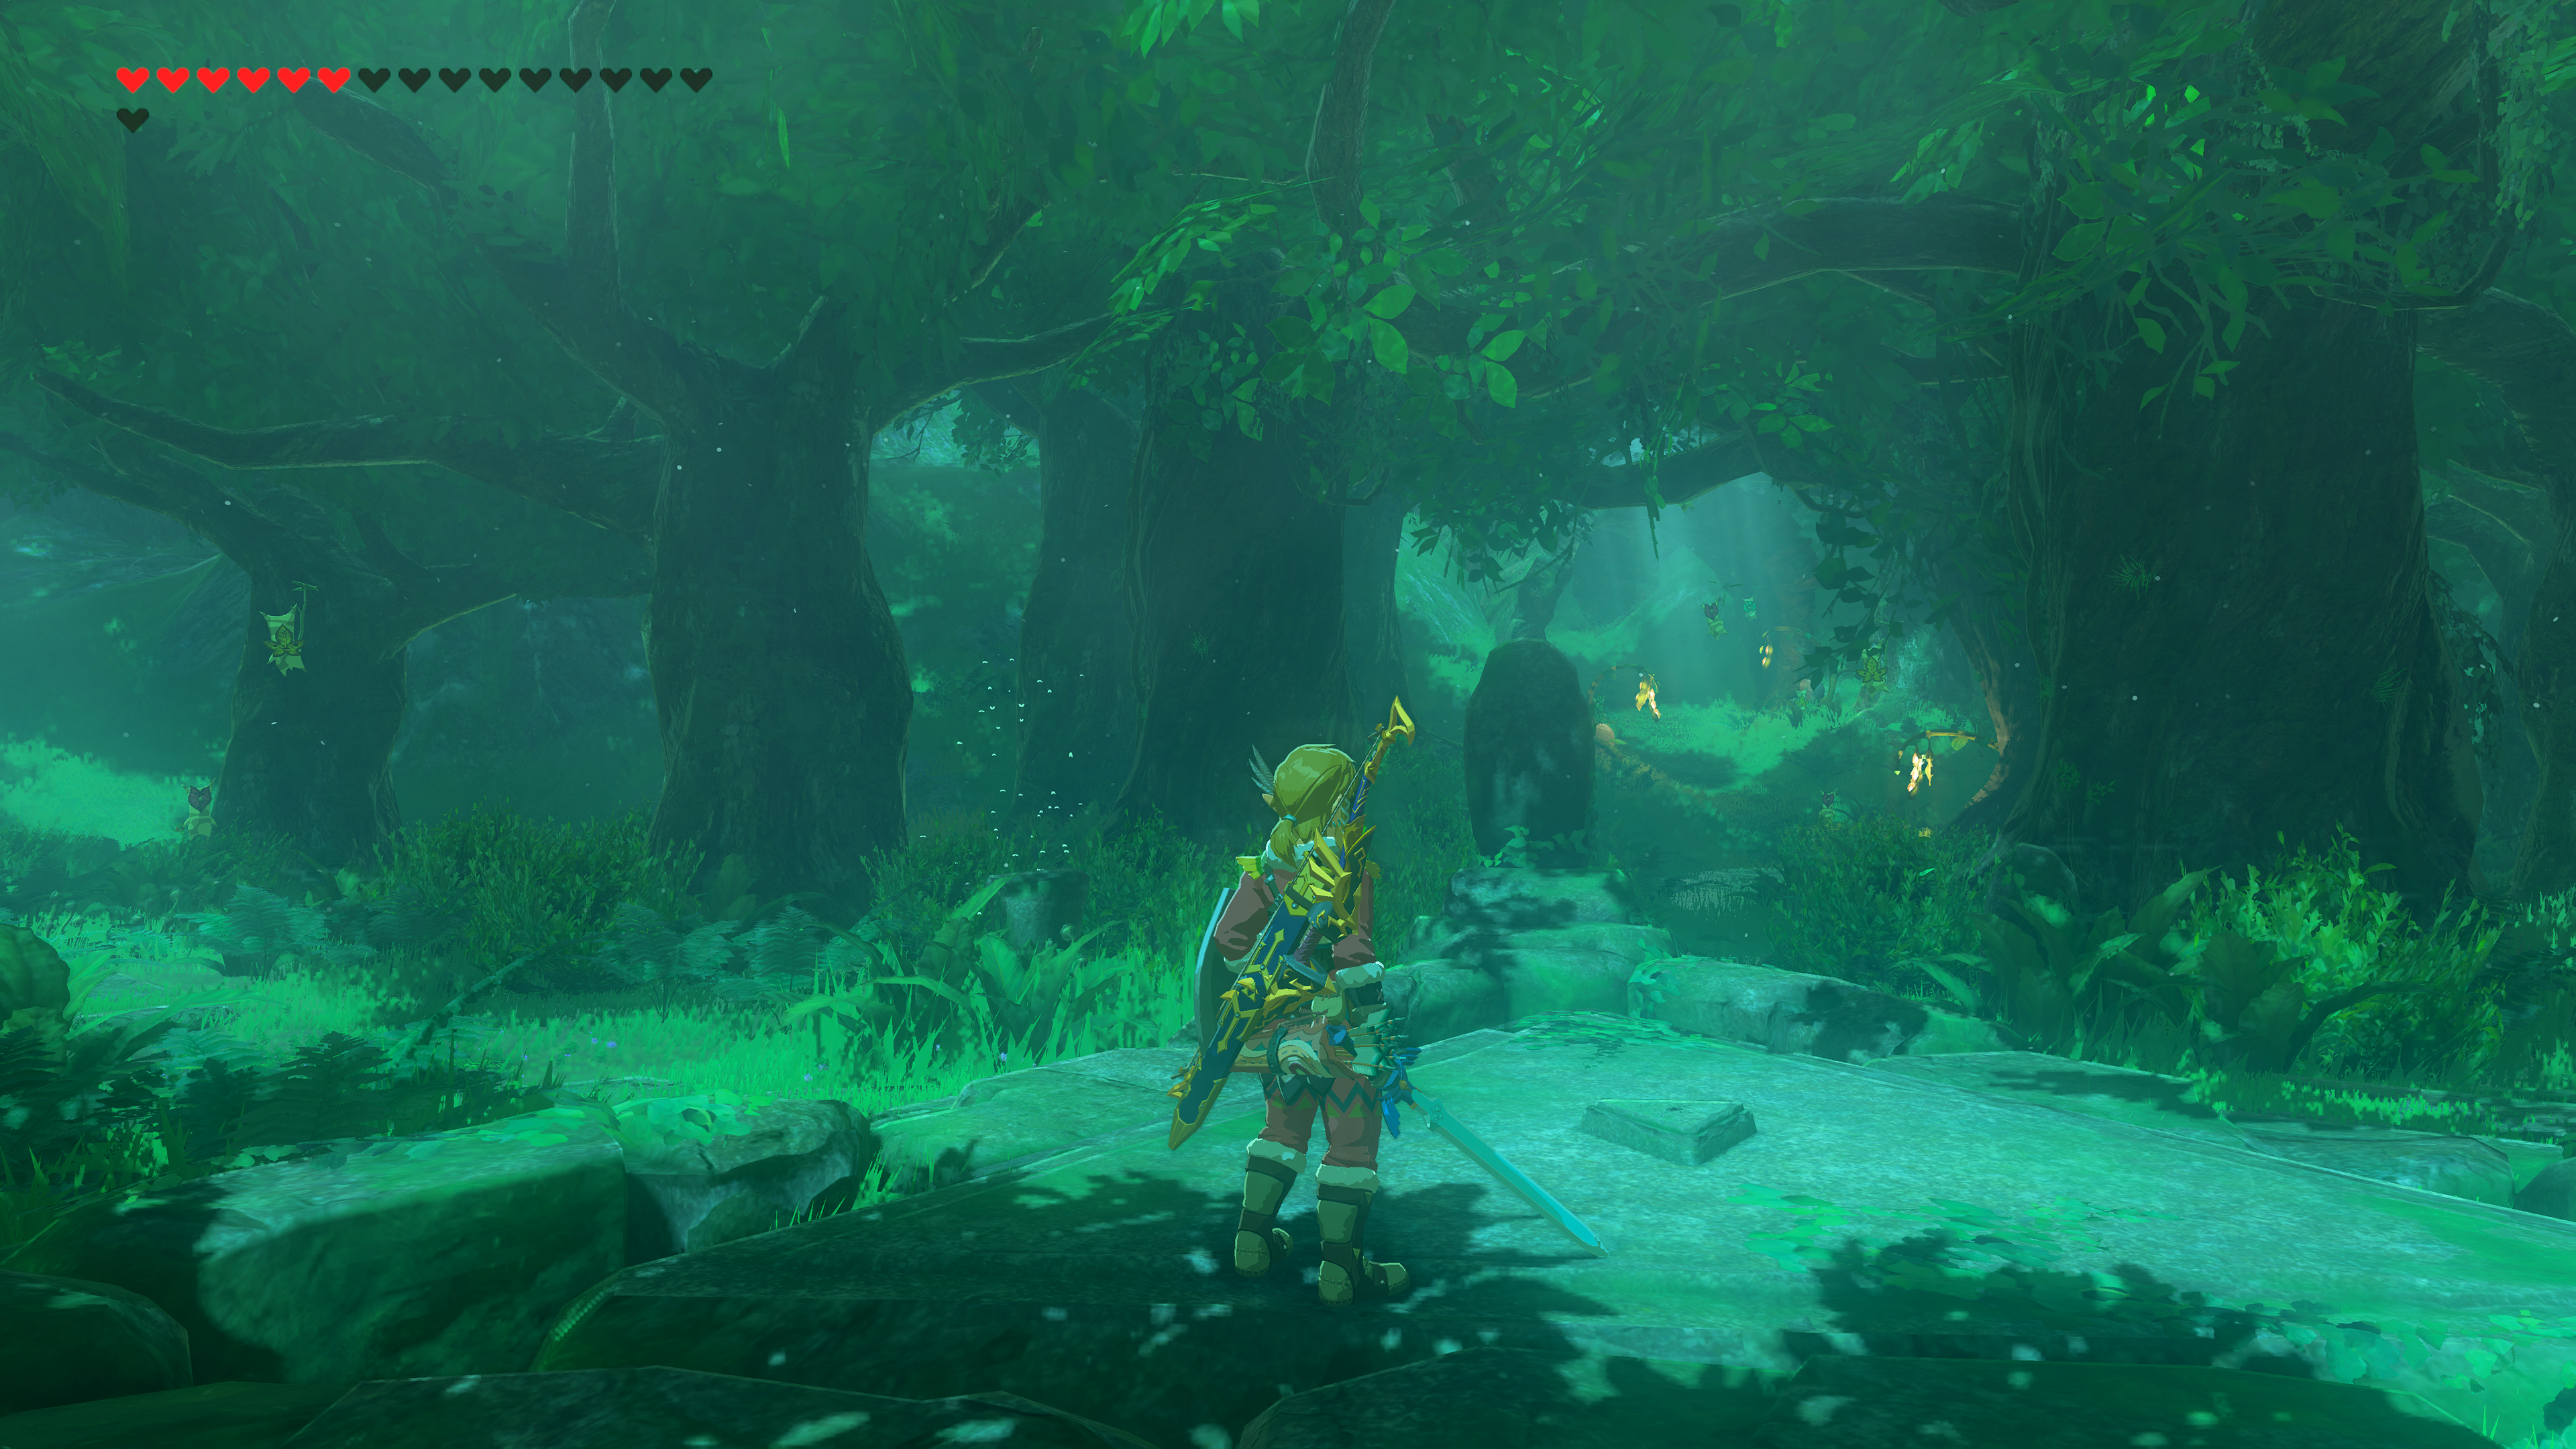
Okay, last shot. I've figured out the proper screenshotting setup now, so this is an actual 5k rendered image, captured at 5k, then downsampled to 4k, this is the IQ I was looking for.

cemu_2017_04_02_11_01_03_89_by_aloooo81-db4f43q.jpg
 

amoebae

Member
You'll probably have to politely ask Hatti (on Twitter) to add that option. I'm sure it's not much trouble for him.

I thought as much. I didn't want to bother him because I'm sure he gets endless requests from people all the time and I felt bad enough originally asking if he was planning on making MEA Tools in the first place (British politeness and guilt - it's an affliction, I swear).

I'm having some limited success using a reverse vignette in ReShade atm but it's fiddly and doesn't always work well, so I think I will ask him, yes. Thanks.
 

OtisInf

Member
I thought as much. I didn't want to bother him because I'm sure he gets endless requests from people all the time and I felt bad enough originally asking if he was planning on making MEA Tools in the first place (British politeness and guilt - it's an affliction, I swear).

I'm having some limited success using a reverse vignette in ReShade atm but it's fiddly and doesn't always work well, so I think I will ask him, yes. Thanks.
If nothing helps, you could give 3D migoto a try. Nowadays finding the particular shader is straight forward. Sadly the guide over at DET is outdated (as it refers to the older 3D migoto which made it hard to use, it's nowadays a couple of minutes). If you want I can write down a quick 'how to' for you to find the shader and create a 'toggle' for it.
 

robgrab

Member
Okay, last shot. I've figured out the proper screenshotting setup now, so this is an actual 5k rendered image, captured at 5k, then downsampled to 4k, this is the IQ I was looking for.

cemu_2017_04_02_11_01_03_89_by_aloooo81-db4f43q.jpg

Dear Lord, that sure looks puuuurty. In a perfect world Nintendo would focus on software and forget about hardware. They're always at least one generation behind every time they release a new console.
 
Okay, last shot. I've figured out the proper screenshotting setup now, so this is an actual 5k rendered image, captured at 5k, then downsampled to 4k, this is the IQ I was looking for.
Gah. I really want to play Zelda BotW but my CPU just isn't enough to handle 30 FPS right now. Gotta wait for more cemu optimizations :(

Looks damn good at those high resolutions though.
 

amoebae

Member
If nothing helps, you could give 3D migoto a try. Nowadays finding the particular shader is straight forward. Sadly the guide over at DET is outdated (as it refers to the older 3D migoto which made it hard to use, it's nowadays a couple of minutes). If you want I can write down a quick 'how to' for you to find the shader and create a 'toggle' for it.

I hadn't heard of 3D migoto before. I would certainly appreciate that little 'how to', if you have time, thank you.

I wish I had the sort of mathematical mind that could understand this stuff without handholding. (Not nec. 3D migoto - I don't know how that works so it might not be mathematical at all.) My coding experience goes no further than html and css, and that's not even coding. Numbers, formulas, all that sort of thing, are a mystery to me, always have been. You and others do great work, and I for one am very grateful you do :)
 

OtisInf

Member
I hadn't heard of 3D migoto before. I would certainly appreciate that little 'how to', if you have time, thank you.

I wish I had the sort of mathematical mind that could understand this stuff without handholding. (Not nec. 3D migoto - I don't know how that works so it might not be mathematical at all.) My coding experience goes no further than html and css, and that's not even coding. Numbers, formulas, all that sort of thing, are a mystery to me, always have been. You and others do great work, and I for one am very grateful you do :)

:)

What you need is to make the shader which renders the vignette do nothing (so it doesn't render anything). 3D migoto allows you to do that, after some work. The hud toggles you see are all made with this tool and simply make the shaders which render the hud do nothing, with a toggle key to switch this on/off. 3D migoto makes this easy as it lets you find the shader in question and export it as normal text so you can edit it :)

1) Download 3D migoto: https://github.com/bo3b/3Dmigoto/releases/download/1.2.56/3Dmigoto-1.2.56.zip
2) unpack the zip in a folder.
3) Go to the x64 folder. Copy all files and the folder, except the uninstall.bat, and copy them into the bin folder of mass effect: andromeda. The same folder you installed reshade in. If it already contains the d3dcompiler_46.dll you don't need to overwrite it.
4) disable reshade's dll by renaming it to dxgi.dll.old. This is only for scanning the shaders, you can enable it later
5) start the game. You'll see green text at the top like vs: 0/some number ps: 0/some number etc. and at the bottom 'stereo disabled'. We're interested in pixelshaders, so the numbers after 'ps' are important. They illustrate the current shader number and the total. So e.g. 'ps: 4/120' means you are currently at the 4th shader of 120.
6) Start a level, so you see the vignette you want to hide. you'll now go through the pixel shaders one by one. The active shader will be disabled by 3d migoto so you can see what it does. You can walk through the shaders by using numpad 1 (go back 1 shader) and numpad 2 (go forth 1 shader). you'll see all kinds of things disappear, geometry, shadows etc. That's ok: the current shader (the number at the top of the screen) renders that particular thing. Once you arrive at the vignette shader, it will disappear. When you go to the next/previous shader it reappears again. Select with numpad 1/2 the vignette shader so it's hidden and press numpad 3. This will export the shader as text. You'll see a text at the top saying '// ---- Created with 3Dmigoto ' etc.
7) you're done hunting, and can close the game. In the bin folder of the game where you copied 3D migoto, go into the ShaderFixes folder. There should now be a file with a gibberish filename similar to '2cbe61e6d361ec15-ps_replace.txt'. open it in notepad
8) Now we'll alter the shader so it does nothing if we have pressed the toggle. :) Every shader code looks different, so I'll illustrate it with a shader from Hitman. Scroll down in the code till you see:
Code:
void main( 
  float4 v0 : TEXCOORD0,
  float4 v1 : TEXCOORD1,
  float2 v2 : TEXCOORD2,
  out float4 o0 : SV_Target0)
{
That's the start of the shader code. Here I'll use an example, a shader from Hitman. Your shader will have a similar structure:
Code:
void main( 
  float4 v0 : TEXCOORD0,
  float4 v1 : TEXCOORD1,
  float2 v2 : TEXCOORD2,
  out float4 o0 : SV_Target0)
{
  float4 r0,r1;
  uint4 bitmask, uiDest;
  float4 fDest;
 
  r0.xyzw = tex.Sample(sampler_tex_s, v2.xy).xyzw;
  r1.xyz = v1.xyz;
  r1.w = 1;
  r0.xyzw = r1.xyzw * r0.xyzw;
  r0.xyzw = v1.wwww * r0.xyzw;
  r0.xyzw = saturate(v0.xyzw * r0.wwww + r0.xyzw);
  r0.xyz = log2(r0.xyz);
  o0.w = r0.w;
  r0.xyz = fGammaPower * r0.xyz;
  r0.xyz = exp2(r0.xyz);
  o0.xyz = fGammaScale * r0.xyz;
  return;
}

You see that empty line under float4 fDest? That's the place where you add the first part. Copy at that location the following code:
Code:
  float4 params = IniParams.Load(0);
  if (params.x == 0)
  {
   o0 = 0;
   discard;
  } else {

Now at the bottom, below 'return;', you add a '}' to match the '{' after else, like a closing tag in HTML :) So in my example this looks like:
Code:
void main( 
  float4 v0 : TEXCOORD0,
  float4 v1 : TEXCOORD1,
  float2 v2 : TEXCOORD2,
  out float4 o0 : SV_Target0)
{
  float4 r0,r1;
  uint4 bitmask, uiDest;
  float4 fDest;
  float4 params = IniParams.Load(0);
  if (params.x == 0)
  {
   o0 = 0;
   discard;
  } else { 
  r0.xyzw = tex.Sample(sampler_tex_s, v2.xy).xyzw;
  r1.xyz = v1.xyz;
  r1.w = 1;
  r0.xyzw = r1.xyzw * r0.xyzw;
  r0.xyzw = v1.wwww * r0.xyzw;
  r0.xyzw = saturate(v0.xyzw * r0.wwww + r0.xyzw);
  r0.xyz = log2(r0.xyz);
  o0.w = r0.w;
  r0.xyz = fGammaPower * r0.xyz;
  r0.xyz = exp2(r0.xyz);
  o0.xyz = fGammaScale * r0.xyz;
  return;
  }
}
Save your shader. You're almost done.

9) In the game bin folder you copied the 3d migoto ini file, in step 3). This ini file is setup so you can find shaders, with the numpad keys, logging and the green text. You don't want that during gameplay so rename the d3dx.ini file to d3dx.ini.hunting. Then copy an ini file from a hud toggle into it, or get this one: https://gist.github.com/FransBouma/e00c31fef7f64d5ed1ba4d56eb3781c9 (click the download zip button at the top right, or copy / paste the file contents into a new d3dx.ini file). THe one I linked to is from hitman, but it's really the default ini file with a key definition for the toggle and all logging disabled as well as 'hunting' switched to 0 as we already found the shader :)
10) rename the reshade dll file back to dxgi.dll
11) start the game. You should now be able to toggle the vignette with caps lock. (if you want another key, you can configure that in the d3dx.ini file under [Keys].
If it doesn't work, as in: the key toggle does nothing, the vignette stays up, check the shader code again in step 8 and see if you didn't forget the trailing }

Good luck :)

(thanks to One3rd for his older guide over at DET)
 

OtisInf

Member
I hadn't heard of 3D migoto before. I would certainly appreciate that little 'how to', if you have time, thank you.

I wish I had the sort of mathematical mind that could understand this stuff without handholding. (Not nec. 3D migoto - I don't know how that works so it might not be mathematical at all.) My coding experience goes no further than html and css, and that's not even coding. Numbers, formulas, all that sort of thing, are a mystery to me, always have been. You and others do great work, and I for one am very grateful you do :)

:)

What you need is to make the shader which renders the vignette do nothing (so it doesn't render anything). 3D migoto allows you to do that, after some work. The hud toggles you see are all made with this tool and simply make the shaders which render the hud do nothing, with a toggle key to switch this on/off. 3D migoto makes this easy as it lets you find the shader in question and export it as normal text so you can edit it :). The steps below are for 1 shader, but you can easily repeat them for more shaders if you want to toggle more cruft on screen :)

1) Download 3D migoto: https://github.com/bo3b/3Dmigoto/releases/download/1.2.56/3Dmigoto-1.2.56.zip
2) unpack the zip in a folder.
3) Go to the x64 folder. Copy all files and the folder, except the uninstall.bat, and copy them into the bin folder of mass effect: andromeda. The same folder you installed reshade in. If it already contains the d3dcompiler_46.dll you don't need to overwrite it.
4) disable reshade's dll by renaming it to dxgi.dll.old. This is only for scanning the shaders, you can enable it later
5) start the game. You'll see green text at the top like vs: 0/some number ps: 0/some number etc. and at the bottom 'stereo disabled'. We're interested in pixelshaders, so the numbers after 'ps' are important. They illustrate the current shader number and the total. So e.g. 'ps: 4/120' means you are currently at the 4th shader of 120.
6) Start a level, so you see the vignette you want to hide. you'll now go through the pixel shaders one by one. The active shader will be disabled by 3d migoto so you can see what it does. You can walk through the shaders by using numpad 1 (go back 1 shader) and numpad 2 (go forth 1 shader). you'll see all kinds of things disappear, geometry, shadows etc. That's ok: the current shader (the number at the top of the screen) renders that particular thing. Once you arrive at the vignette shader, it will disappear. When you go to the next/previous shader it reappears again. Select with numpad 1/2 the vignette shader so it's hidden and press numpad 3. This will export the shader as text. You'll see a text at the top saying '// ---- Created with 3Dmigoto ' etc.
7) you're done hunting, and can close the game. In the bin folder of the game where you copied 3D migoto, go into the ShaderFixes folder. There should now be a file with a gibberish filename similar to '2cbe61e6d361ec15-ps_replace.txt'. open it in notepad
8) Now we'll alter the shader so it does nothing if we have pressed the toggle. :) Every shader code looks different, so I'll illustrate it with a shader from Hitman. Scroll down in the code till you see:
Code:
void main( 
  float4 v0 : TEXCOORD0,
  float4 v1 : TEXCOORD1,
  float2 v2 : TEXCOORD2,
  out float4 o0 : SV_Target0)
{
That's the start of the shader code. Example:
Code:
void main( 
  float4 v0 : TEXCOORD0,
  float4 v1 : TEXCOORD1,
  float2 v2 : TEXCOORD2,
  out float4 o0 : SV_Target0)
{
  float4 r0,r1;
  uint4 bitmask, uiDest;
  float4 fDest;
 
  r0.xyzw = tex.Sample(sampler_tex_s, v2.xy).xyzw;
  r1.xyz = v1.xyz;
  r1.w = 1;
  r0.xyzw = r1.xyzw * r0.xyzw;
  r0.xyzw = v1.wwww * r0.xyzw;
  r0.xyzw = saturate(v0.xyzw * r0.wwww + r0.xyzw);
  r0.xyz = log2(r0.xyz);
  o0.w = r0.w;
  r0.xyz = fGammaPower * r0.xyz;
  r0.xyz = exp2(r0.xyz);
  o0.xyz = fGammaScale * r0.xyz;
  return;
}

You see that empty line under float fDest? That's the place where you add the first part. Copy at that location the following code:
Code:
  float4 params = IniParams.Load(0);
  if (params.x == 0)
  {
   o0 = 0;
   discard;
  } else {

Now at the bottom, below 'return;', you add a '}' to match the '{' after else, like a closing tag in HTML :) So in my example this looks like:
Code:
void main( 
  float4 v0 : TEXCOORD0,
  float4 v1 : TEXCOORD1,
  float2 v2 : TEXCOORD2,
  out float4 o0 : SV_Target0)
{
  float4 r0,r1;
  uint4 bitmask, uiDest;
  float4 fDest;
  float4 params = IniParams.Load(0);
  if (params.x == 0)
  {
   o0 = 0;
   discard;
  } else { 
  r0.xyzw = tex.Sample(sampler_tex_s, v2.xy).xyzw;
  r1.xyz = v1.xyz;
  r1.w = 1;
  r0.xyzw = r1.xyzw * r0.xyzw;
  r0.xyzw = v1.wwww * r0.xyzw;
  r0.xyzw = saturate(v0.xyzw * r0.wwww + r0.xyzw);
  r0.xyz = log2(r0.xyz);
  o0.w = r0.w;
  r0.xyz = fGammaPower * r0.xyz;
  r0.xyz = exp2(r0.xyz);
  o0.xyz = fGammaScale * r0.xyz;
  return;
  }
}
Save your shader. You're almost done.

9) In the game bin folder you copied the 3d migoto ini file, in step 3). This ini file is setup so you can find shaders, with the numpad keys, logging and the green text. You don't want that during gameplay so rename the d3dx.ini file to d3dx.ini.hunting. Then copy an ini file from a hud toggle into it, or get this one: https://gist.github.com/FransBouma/e00c31fef7f64d5ed1ba4d56eb3781c9 (click the download zip button at the top right, or copy / paste the file contents into a new d3dx.ini file).
10) rename the reshade file back to dxgi.dll
11) start the game. You should now be able to toggle the vignette with caps lock. (if you want another key, you can configure that in the d3dx.ini file under [Keys].
If it doesn't work, as in: the key toggle does nothing, the vignette stays up, check the shader code again in step 8 and see if you didn't forget the trailing }

Good luck :)

(thanks to One3rd for his older guide on DET)
 
Okay, last shot. I've figured out the proper screenshotting setup now, so this is an actual 5k rendered image, captured at 5k, then downsampled to 4k, this is the IQ I was looking for.

cemu_2017_04_02_11_01_03_89_by_aloooo81-db4f43q.jpg
Gorgeous. Can't wait to replay this once i can get a stable 30 fps on my 4670K. I really wish ReShade had depth buffer access, but after doing some testing yesterday it didn't seem to work
 
Top Bottom