#Victory! And with a few days to spare!
At first, I was worried about my chances against Neo ExDeath, and these worries were well-founded, as Almagest easily took out my Time Mage and Dancer, and left the Knight and Monk as the only ones alive. So, I teleported out of the rift, stocked up on Hi-Potions/Phoenix Down/Cottages, picked up a third Coral Ring and Hermes Sandal, and headed back into the Rift to grind a bit.
But first, I should rewind back to the start of World 3, where I left off at in my last post. My first destination, after the castle and antlion stuff, was Moore, where I finally picked up the Brave Blade for my Knight (and any Dancers with Equip Swords), my first time wielding one. It just so happens that there weren't any battles that I needed to run from, so the blade was fully-powered (300 attack w/ Two-Handed). Naturally, this allowed me to pretty much blow through most random mobs for a while, since the damage it puts out is pretty stable.
Sekhmet: Not much stronger than a random against BB. Melusine: Dancer and Knight took her out pretty quickly. (Got the Excalibur from Kuza, which made random mobs even easier with Dancer) Wendigo: Hit 'em hard when I found 'em. Minotaur: Knight+Monk = Overwhelming Force. Omniscient: Dancer was pretty useless in this fight, so after they fell, a Reflect Ring'd Time Mage hit Omni with Comet over and over again. Trench: Float really came in handy here. Trio: Magic Lamp Odin. Istory Falls: Dancer's !Flirt worked pretty well against Tonberry, making this a pretty good grind spot. Leviathan: Knight had a Coral Ring, and was the only survivor. Rift: Most mobs were pretty simple to beat. It wasn't until the final area that the mobs started to pose a real threat. Calofisteri: BB and other attacks outpaced her Drain. Apanda: Confused my Knight and got some good hits in, went down pretty easily the second time. Azulmagia: Got some good hits in, but never really capitalized on them. Catastrophe: Float -> 100 Gs -> Float -> Repeat. Halicarnassus: No problem with a Dancer. Twintania: The key was surviving until Giga Flare, which was tough, but when the time came, I only needed to Banish. Gilgamesh: Stole Genji items with the Thief's Knife. Necrophobe: The barriers only got one or two rounds in, as for Nec himself, he hit hard, but couldn't stand up to BB, Excalibur, Punches, and Quick Meteors.
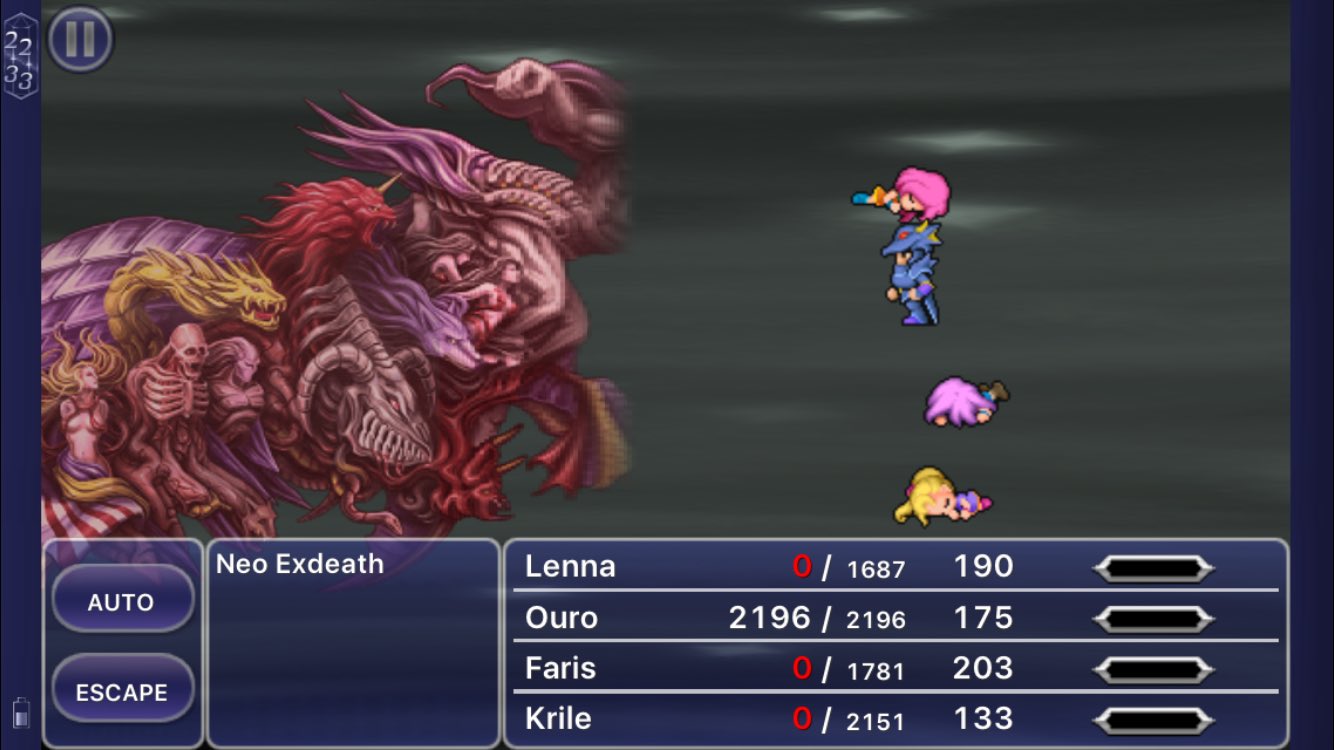
Anyways, back to ExDeath. I needed reliable healing, so I quickly realized that Regen and Quick were the best of buds, as the Regen was still active during Quick's time freeze, so I could just wait around after a hard hit for my team to heal completely. Time-consuming, but necessary. I also realized that an unbuffed Monk is relatively useless in this fight, as punches were not outputting the same level of damage as Sword Dance and 2-handed BB. Finally, I decided to gain a few levels and ABP when I saw how Almagest wiped out most of my team (usually followed by Grand Cross, Meteor, or Vacuum Wave on the survivors. I only needed to go up to lvl 41 (39 for Lenna), thankfully, and everyone except for Krile mastered all four jobs in the process.
After grinding out a few Iron Giants and the other Castle enemies, I headed back into the final area with a new strategy. I changed Dancer's ability from Equip Swords to HP +30% to increase their chances against Almagest, and since the Monk wouldn't be doing much punching during this fight, I gave her Time Magic to act as a backup Quick caster. This meant that each round, I could attack with Brave Blade, Man-Eater Sword Dances, and up to 4 Meteors; if I needed a rest, I now had two chances to heal with Quick+Regen or Quick+Elixir. This new strategy was more successful than I expected. Those few extra levels really helped, as the entire party was able to survive Almagest, and the Grand Cross part died before it got a chance to cast it. The toughest part was the final one, as it was able to cast 2 Meteors (that only hit a few party members) and an Almagest, but it was weakened enough beforehand to fall within a few rounds of Quick Meteors. #Victory!
Just some thoughts on this year's party:
- Knight was pretty much self-sufficient, as 2-handed was the only ability I had on them.
- Monk and Dancer worked well together. Dancer could use Barehanded (~5000 damage Sword Dance) and the HP boosts. Monk could use Equip Ribbons to stop status effects in their tracks (and Flirt against Tonberry).
- Equip Swords was incredibly useful on Dancer, and pretty useful on Monk.
- Equip Shields was good on Time Mage, especially with the Flame/Aegis/Genji Shields.
- Having a Time Mage on board was nice, as the party could Haste much earlier than usual, and we had a reliable source of Float for the dungeons and battles that require it. Return was pretty useful as well for negating any back attacks. Quick was really good in the late-game. Rod-breaking pretty much stopped after World 2 Exdeath, since the party had so much physical power by then.
- Time Magic was also pretty useful on non-magic jobs, as the category's set effects and randomized damages weren't dependent on stats.
- As much as I enjoyed the Brave Blade's raw power, I probably won't go for it again in the future, as it is much more pleasant to be able to run away from battles.