-
Hey, guest user. Hope you're enjoying NeoGAF! Have you considered registering for an account? Come join us and add your take to the daily discourse.
You are using an out of date browser. It may not display this or other websites correctly.
You should upgrade or use an alternative browser.
You should upgrade or use an alternative browser.
2013 PC Bullshot thread of "1 FPS? That's 1 screenshot per second"
- Thread starter Corky
- Start date

That's the first BF3 shot to make me say mmmmmmm....
What does that mean?

http://www.abload.de/img/bicqeufo.png
Holy shit Corky, that's gorgeous

Dictator93
Member
GOML Corky

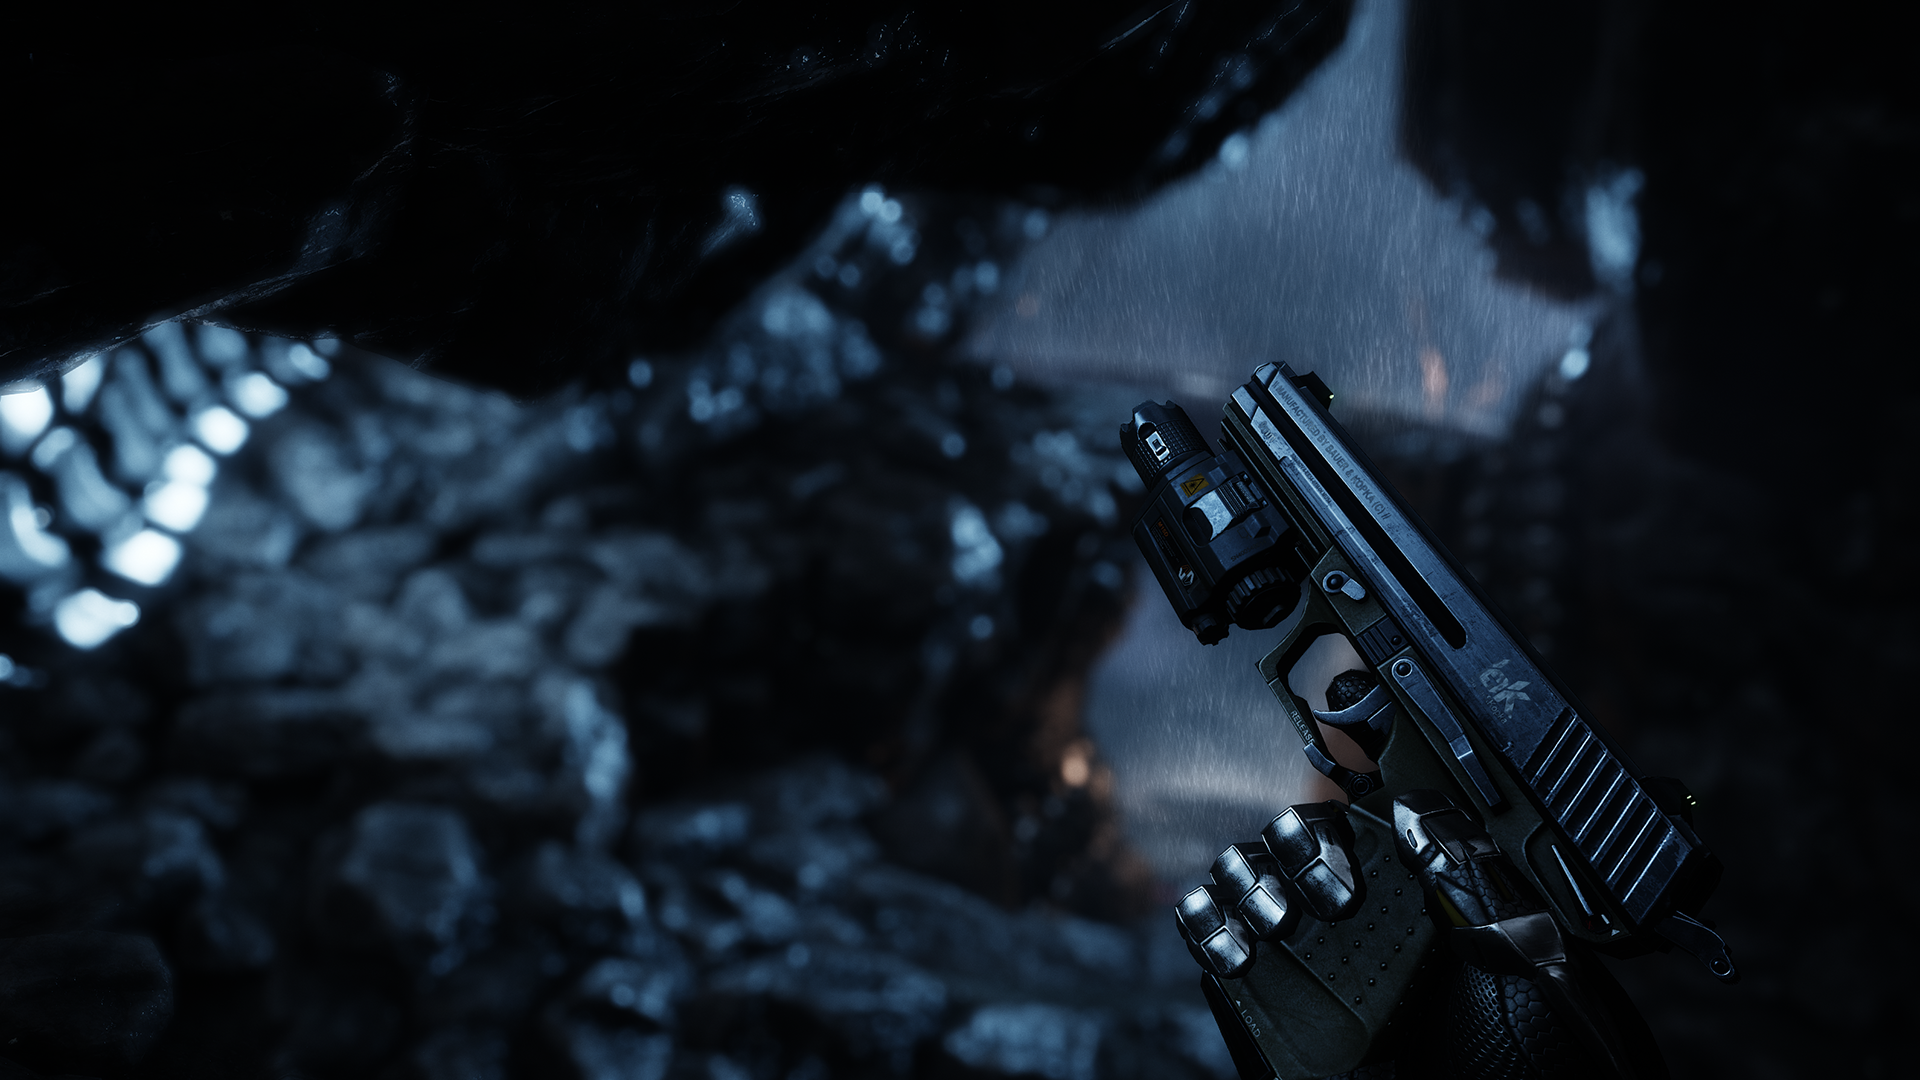
First of all. HOW?! You can dual wield them?!
Second of all. Check out the shadows on the gun from the fingers... so sexy
Edit: Looking a bit photoshoppy

Brerlappin
Member
Gotta say, the 05 remmah is definitely my favourite gun in that shot kyle
Snkfanatic
Banned
Good god I can't handle the gun porn shots...also I echo the WTF at duel wielding those. Didn't know it was possible.
EatChildren
Currently polling second in Australia's federal election (first in the Gold Coast), this feral may one day be your Bogan King.
Yes its photoshopped, you can tell by my horrible cutting skillsFirst of all. HOW?! You can dual wield them?!
Second of all. Check out the shadows on the gun from the fingers... so sexy
Edit: Looking a bit photoshoppy
Here is the original
SpongeBob NoPants
Member
Thanks for this thread guys.
I always like to have a rotating selection of gorgeous PC screenshots as my desktop wallpaper, so this place has been a goldmine - and its nice to finally have some stuff that hasnt come from the Dead End Thrills site, great though it is.
There has been a downside though - I have this weirdly pointless self-imposed rule that I wont have wallpapers for games that I dont own and enjoy. Thanks to you guys I finally picked up Dear Esther last night, just so I didnt break my rule, and Im currently resisting the urge to buy Crysis 3, despite the fact that Im so sick of first-person shooters right now.
Snkfanatic
Banned
....my hopes and dreams....dashed
Sax Russel
Banned
EatChildren
Currently polling second in Australia's federal election (first in the Gold Coast), this feral may one day be your Bogan King.
If we're posting gun porn.
RibbedHero
Member


EatChildren
Currently polling second in Australia's federal election (first in the Gold Coast), this feral may one day be your Bogan King.
Terbinator
Member
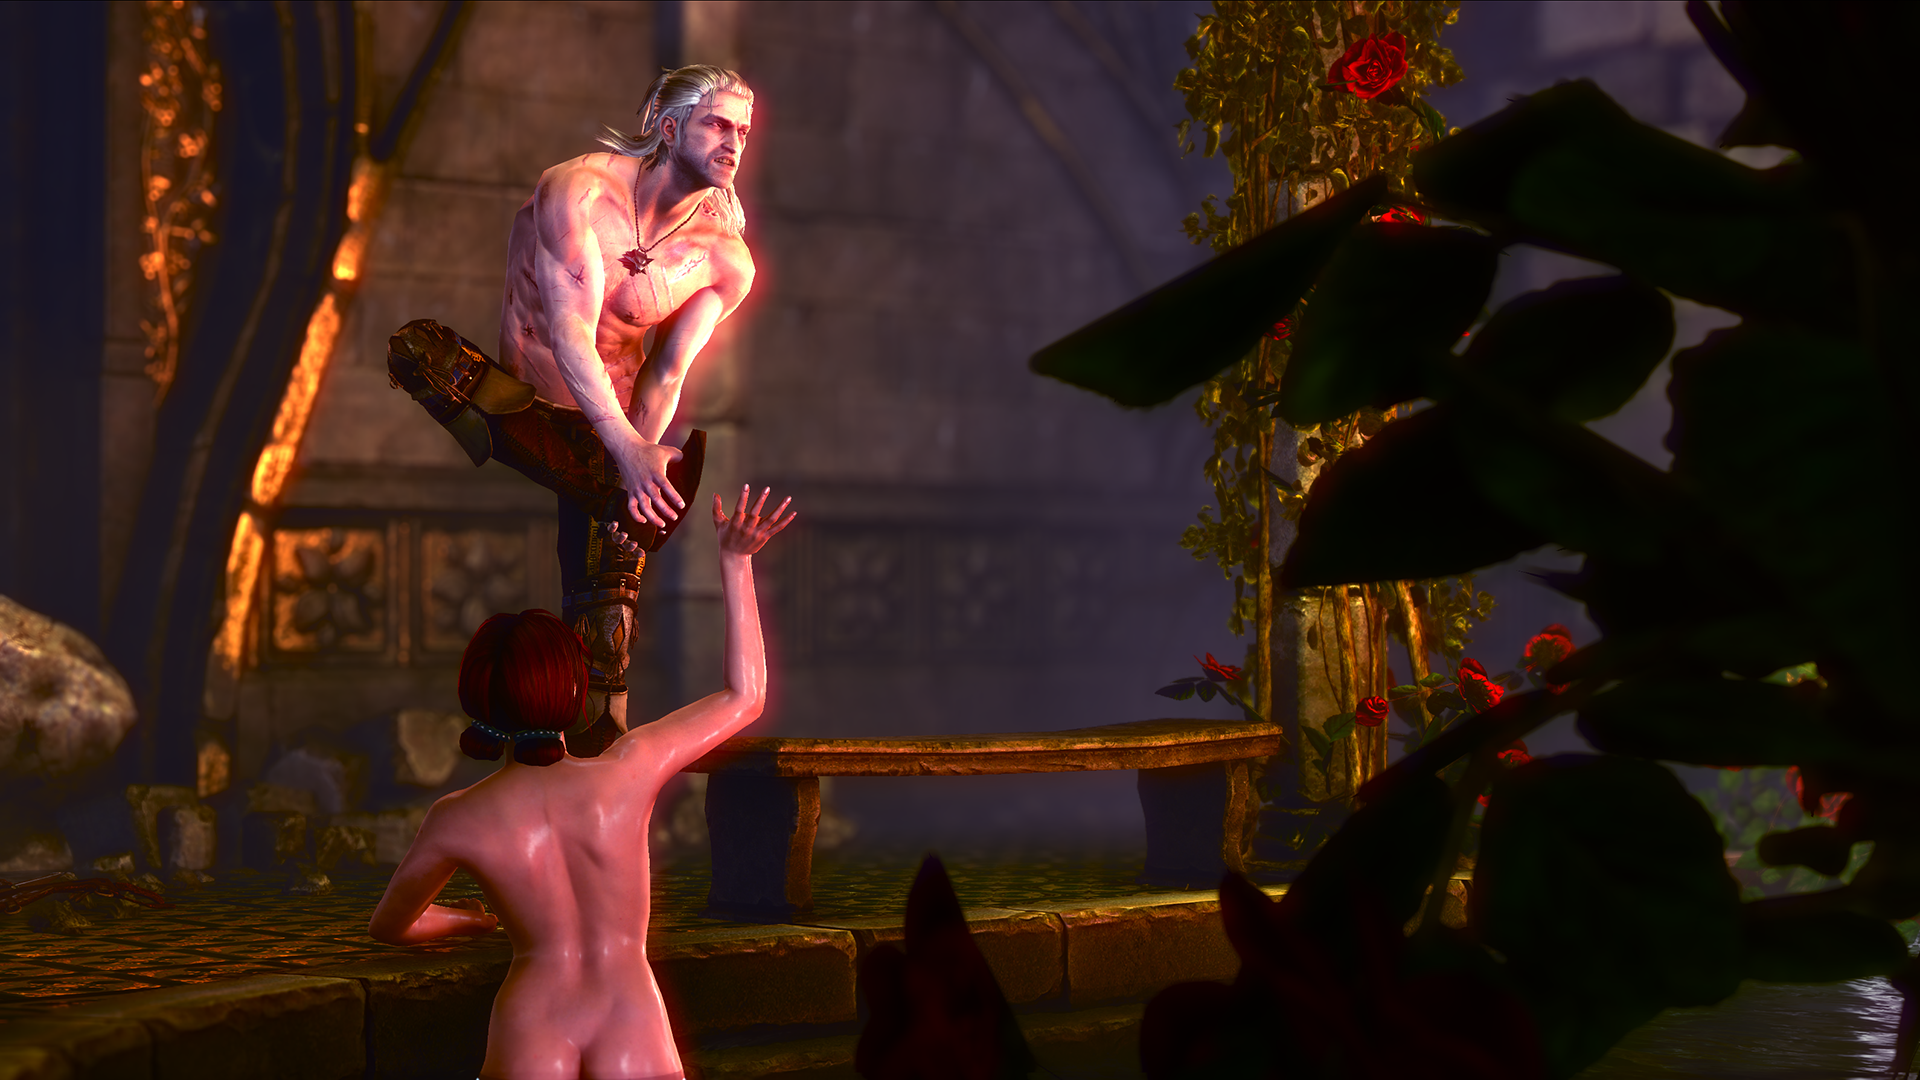
That Triss shot is tickling my inner-neckbeard.
Spazznid
Member
What does that mean?
Means, while all the other shots are great IQ wise, I don't find them particularly special. That one is something I've not seen before.
Please don't laugh at me. Does resizing in Paint adversely affect my final image?
Did some testing earlier actually and they are close to identical, in some tiny areas, paint actually keeps the image crisper.
Here's the pictures:
MS Paint
Photoshop Bicubic Sharper
Lactose_Intolerant
Member
Lovin' that Triss butt shot. Very artsy.
Her webbed fingers are hot too
Did some testing earlier actually and they are close to identical, in some tiny areas, paint actually keeps the image crisper.
Here's the pictures:
MS Paint
Photoshop Bicubic Sharper
By quickly switching tabs repeatedly back and forth, the MS Paint one does look sharper.
elbourreau
Member
Hooooooooo Triss........ Let me protect you................
Did some testing earlier actually and they are close to identical, in some tiny areas, paint actually keeps the image crisper.
Here's the pictures:
MS Paint
Photoshop Bicubic Sharper
I usually stay away from 'Bicubic Sharper' as I think the sharpening is to the detriment of the image given the game itself is run in a sufficient enough way to give a clean image.
I did a quick comparison myself that shows the difference between resizing in psd ( regular bicubic ) vs paint. It's very evident that the paint version has an added layer of sharpening and has more 'noisy' edges which are more visible in the lower-left/middle portion of the image on the dam facade (?).
PSD Bicubic
http://www.abload.de/img/paint60pwp.png
edit : resized detail shots.
PSD
Paint

Stallion Free
Cock Encumbered
PS Bicubic Sharper consistently gives me the best results.
Stallion Free
Cock Encumbered
Is there a way to apply bi-cubic sharper in downsampling in Photoshop for several files at a time? Kind of like how Xnview is able to multi-convert.
I would like to know this too. I have BC Sharper set as the default, but I'm not familiar with batches in PS.
iNvid02
Member
here is how to automate it
1. open up your typical screenshot, e.g if you capture at 2160p or 1440p etc
2. enable actions under window > actions
3. click the note at the bottom with folded corner to create new action, name it resize or something
4. it should be recording now as noted by the red record button - now just resize it to what res you want, e.g 1080p or 1600x900 - whatever you post on gaf
5. CTRL+S to save it afterwards - if you want to save as PNG or JPG rather than BMP then choose save for web instead
6. now click stop button
from now on you can just go to file > automate > batch and select the resize action you created in the action drop down. the source should be your screenshot folder where your original shots are saved. photoshop will automatically resize them all for you.
Is there a way to apply bi-cubic sharper in downsampling in Photoshop for several files at a time? Kind of like how Xnview is able to multi-convert.
I would like to know this too. I have BC Sharper set as the default, but I'm not familiar with batches in PS.
Open up the actions panel (window > actions) create a new action and it will then record your actions until you tell it to stop: have an image open, open the resize window and enter a horizontal width of 1920 with constrain proportions and bicubic sharper selected, File > save for web (this is done to export a copy of the image and not save over the original) > choose PNG or you can set compression options for JPGs > save to an export folder or desktop ( do not touch the filename) > close the the image in photoshop > press the stop button on the actions panel.
You can then manually open the images and then just press the play button for each image and it will do its thing or you can select the action from File > Automate > Batch... to do a bunch at once.
Stallion Free
Cock Encumbered
Awesome, thanks!Open up the actions panel (window > actions) create a new action and it will then record your actions until you tell it to stop: have an image open, open the resize window and enter a horizontal width of 1920 with constrain proportions and bicubic sharper selected, File > save for web (this is done to export a copy of the image and not save over the original) > choose PNG or you can set compression options for JPGs > save to an export folder or desktop > close the the image in photoshop > press the stop but on the actions panel.
You can then manually open the images and then just press the play button for each image and it will do its thing or you can select the action from File > Automate > Batch... to do a bunch at once.
here is how to automate it
1. open up your typical screenshot, e.g if you capture at 2160p or 1440p etc
2. enable actions under window > actions
3. click the note at the bottom with folded corner to create new action, name it resize or something
4. it should be recording now as noted by the red record button - now just resize it to what res you want, e.g 1080p or 1600x900 - whatever you post on gaf
5. CTRL+S to save it afterwards - if you want to save as PNG or JPG rather than BMP then choose save for web instead
6. now click stop button
from now on you can just go to file > automate > batch and select the resize action you created in the action drop down. the source should be your screenshot folder where your original shots are saved. photoshop will automatically resize them all for you.
Open up the actions panel (window > actions) create a new action and it will then record your actions until you tell it to stop: have an image open, open the resize window and enter a horizontal width of 1920 with constrain proportions and bicubic sharper selected, File > save for web (this is done to export a copy of the image and not save over the original) > choose PNG or you can set compression options for JPGs > save to an export folder or desktop ( do not touch the filename) > close the the image in photoshop > press the stop button on the actions panel.
You can then manually open the images and then just press the play button for each image and it will do its thing or you can select the action from File > Automate > Batch... to do a bunch at once.
Thanks to both of you!

Stallion Free
Cock Encumbered
It's probably due to the fact that everyone is still posting screens of it everywhere. Maximum saturation.As good as C3 looks, its all starting to feel very samsey for me. Its either raining at night or a super green area. Not to say it doesn't look incredible, because it does.
As good as C3 looks, its all starting to feel very samsey for me. Its either raining at night or a super green area. Not to say it doesn't look incredible, because it does.
Doesn't help we've been over-saturated with shots now. There's no a level, ToD setting or setpiece I haven't seen by now and I still haven't begun playing.
I'm infinitely bored of the game already, thanks to the High-res thread.
LiquidMetal14
hide your water-based mammals
Open up the actions panel (window > actions) create a new action and it will then record your actions until you tell it to stop: have an image open, open the resize window and enter a horizontal width of 1920 with constrain proportions and bicubic sharper selected, File > save for web (this is done to export a copy of the image and not save over the original) > choose PNG or you can set compression options for JPGs > save to an export folder or desktop ( do not touch the filename) > close the the image in photoshop > press the stop button on the actions panel.
You can then manually open the images and then just press the play button for each image and it will do its thing or you can select the action from File > Automate > Batch... to do a bunch at once.
I think you can set a shortcut key for this as well so it just works automatically.
no ones posted anything from the final mission without spoilers yet, that was stunning
Well, would be nice to have some part of the game that we can experience on our own.
iNvid02
Member
Well, would be nice to have some part of the game that we can experience on our own.
someone is bound to though. but why have you not started yet, you have titan power now. the rope bug?