N1ghtW4lk3R
Member
I need a little help...How enable FreeCamera in Crysis 3?
I need a little help...How enable FreeCamera in Crysis 3?
You can't. At best, there is a cheat engine table with a really frustrating coordinate hack floating around here somewhere.
The SDK has a free camera, but I don't think the campaign levels are explorable in the SDK.
FOV needs to be tweaked for each aspect ratio. The same FOV that looks good in 16:9 will not look good in portrait. Uuuuusally.
I haven't had any issues forcing 3:4 with SoftTH \ D3D looking glass. Though I've only tried it in Dishonored and Shadow Warrior. Other folks seem to be making it work though. I'm really not sure what it is that's not working for you.
If all else fails, you can try forcing 2400x3200 with a lower refresh rate. My monitor accepts that @ 50hz.
[main]
renderResolution=3750x5000
nonlocalFormat=RGB16D
keepComposition=0
smoothing=1
debugD3D=0
zClear=1
vsync=0
tripleBuffer=0
screenshotFormat=jpg
dllPathD3D9=auto
dllPathDXGI=auto
dllPathD3D11=auto

[overrides]
forceResolution=0
antialiasing=0
processAffinity=0
FOVForceHorizontal=0
FOVForceVertical=0

[debug]
compatibleIB=0
compatibleTex=0
compatibleVB=0
enableVBQuirk=0

[head_primary]
sourceRect=0,0,1920,1080
screenMode=1920x1080Also, I've posted my Dead Space 3 table (work in progress) on DET. I'll make a post here for that eventually but for now, here's what it does:
Enemy timestop
Isaac timestop (can be frozen separately from enemies in order to individually pose if need be)
Isaac nearly invisible (for flying around in 0 gravity without isaac in shot)
0 gravity anywhere
Manual camera positioning - this is a bit hard to get used to. Same as my Dead Space 1 table
Other cheats that might be helpful, like god mode, unlimited ammo, etc etc.
Hotkeys can be tweaked if you know how. It's pretty easy. Though the manual camera control will be impossible.
Very cool! The Isaac timestop should make for some interesting shots to be composed.
SRWE doesn't work for me. When i take a shoot get a picture with the same game settings dimensions (in my case 2160p).
I know that SRWE works with this game so what happens?!
At this point you might want to explain exactly what you're doing. What resolution are you setting in the config? Does the window render at the resolution you set it to (ie - can you take a screenshot of the game's menu with your desired resolution BEFORE using SRWE to resize - just to test). Are you on Windows 8 (not sure if that matters)?
When you resize with SRWE, what are you using to take screenshots? I've found that SweetFX always captures the resolution from the framebuffer. So if you resize with SRWE and SweetFX captures the size you change your window to, then there's probably nothing you can do.
I don't think you understand what to use SRWE for. You don't SET the resolution with SRWE (with the exception of a few games). You set your desired resolution in the config and in windowed mode. If all goes well, when you start the game, the window will be larger than your desktop is capable of displaying.
For example, I set 5500x2320 in my config for that game. Since the highest my monitor can display is 3840x2160, the window was too wide and too tall to see everything. So then I grab the window with SRWE and resize it to 3840x1620 (same aspect - and the size fits on my monitor). That way you can play the game at the res you want, but still be able to see everything on your screen.
I set my desktop res to 3840x2160 because if you resize a window too much with SRWE, it will look pretty bad. Screens will still come out to whatever res you set.
Now, SOME games actually re-render to whatever resolution you resize to with SRWE. Battlefield 3 and Tomb Raider are 2 examples. So for those, using SRWE is a lot less practical.
http://farm3.staticflickr.com/2871/10371250644_d47ac683a7_o.png[IMG][/QUOTE]
Wrong thread duder. Unless you've got a ton of info or strategies you wanna dump on us about taking screenshots in Bioshock Infinite.
I'm guessing you meant the bullshot thread.
Wrong thread duder. Unless you've got a ton of info or strategies you wanna dump on us about taking screenshots in Bioshock Infinite.
I'm guessing you meant the bullshot thread.

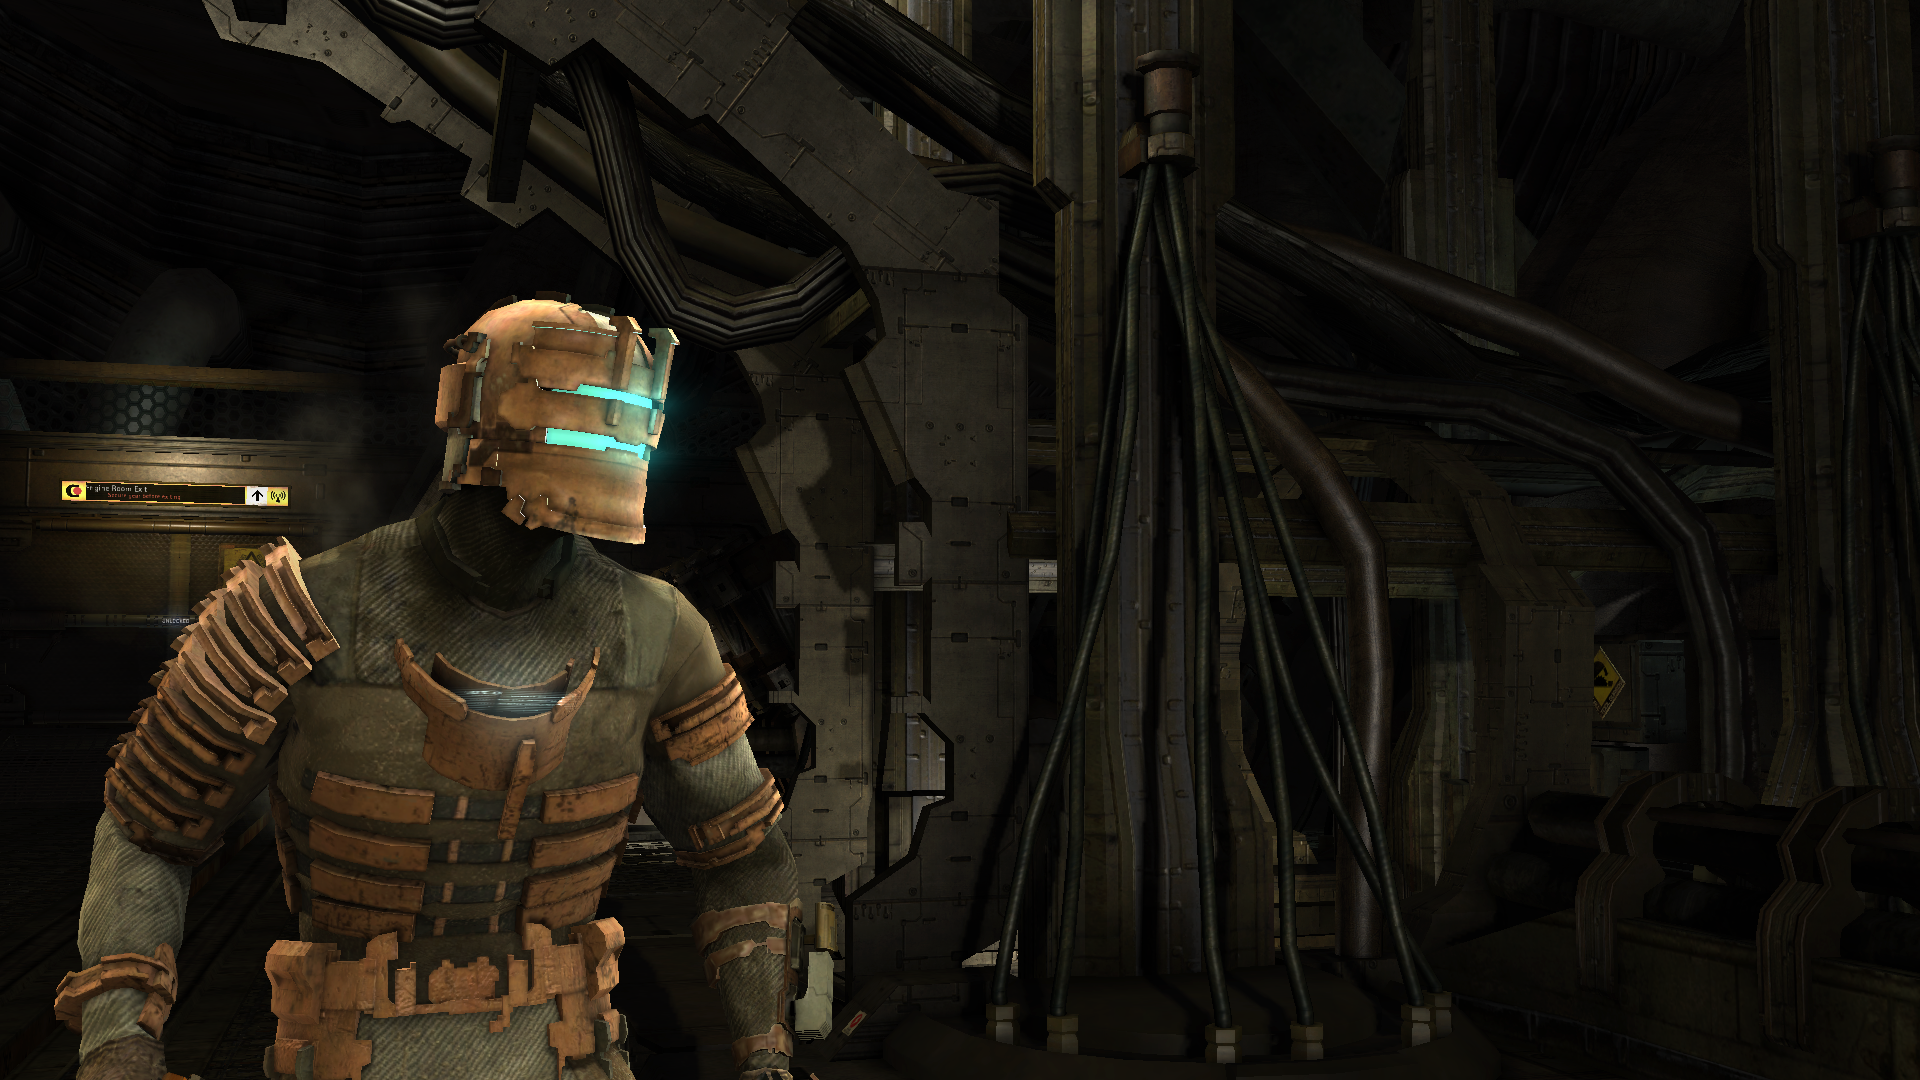
Could someone tell me what went Wrong here ?
Dead space screenshot taken at 4K.
http://www.flickr.com/photos/100031350@N08/10601191694/lightbox/
And after re sizing to 1080p:
Whats with all the jaggies most notably on the helmet ?
Not sure, can't see the original image as you seem to have it set to "private". Could be the the DS filter being used...but any I've tried don't seem to add much aliasing. What filter did you use?
I found that even at 4K rendering I needed to add post AA to get rid of almost all of the jaggies in this game. From memory I found that SMAA (using SweetFX) gave me the best result without adding any blur.
Sorry about that.does it work now?
http://www.flickr.com/photos/100031350@N08/10601191694/lightbox/
As you can see no jaggies.
I used it for a resolution difference example so i left everything on max and used no AA whatsoever to get a pure difference based only on resolution. no filter used either (lanczos bicubic etc..)
I tried using lanczos2 with FastStone and it comes out better but there are still jaggies. Try adding some FXAA or SMAA and see if that helps. I found that it pretty much removed them when rendering at 4k. You could always try going higher as well...although I couldn't get this to work on my rig but that was before SoftTH.
Okay, that works (except tiledshot, I don't know why). Thanks, now I feel dumb.
Hey dude, where do you put the bindings?
Thanks!
BmInput.ini in Documents\Square Enix\Batman Arkham Asylum GOTY\BmGame\Config. I only put two bindings:
Bindings=(Name="Multiply", Command="ToggleGfx") (hide HUD)
Bindings=(Name="Divide",Command="fov 100")
Like Thorgal said, that only works if you choose the "read only" in the properties of the file.
")
neoenigma, since you just bought the game this post might be useful. Hopefully you have some luck with Cheat Engine, would love to have more control over the camera in this game. There is some really interesting level design that begs to be properly screen shot.
...

I have a problem with the command "Tiledshot X"
I'm using Tiledshot 4, how can i resolve this weird thing ?
I have a problem with the command "Tiledshot X"
I'm using Tiledshot 4, how can i resolve this weird thing ?
These are the binds that I used in Alice: Madness Returns for Timestop, Camera Lock, Noclip, etc. This can be used for almost any UE3 game, although some commands work for some games and others do not. Some games like Bulletstorm and Spec Ops: The Line use encrypted INI files, unfortunately. For example, every single binding here works perfectly in X-Men Origins: Wolverine except for Ghost/Walk. This is probably useful in more games than I'm even aware of. Some UE3 games use ToggleHUD, some use ShowHUD.
Copy/Paste this under [Engine.PlayerInput] in <Game>Input.INI in C:\Users\<user>\Documents\My Games\<game>\<game>\Config
Please be aware that many bindings use the "Alt" key modifier, which means they have an additional function if the Alt key is held down simultaneously to the normal key.
i.e., Pressing NumPadZero will lock the camera in place, and in order to "snap" it back to the character, you must press Alt+NumPadZero.
If you are familiar with many common Unreal Engine console commands, you can also slightly modify this formatting to bind whatever you want. UE3 is the shit when developers give players access to the nitty-gritty.
Bindings=(Name="Add",Command="Pause")
Bindings=(Name="Subtract",Command="PlayersOnly")
Bindings=(Name="NumPadZero",Command="Camera Fixed")
Bindings=(Name="NumPadZero",Command="Camera ThirdPerson",Alt=True)
Bindings=(Name="Decimal",Command="Ghost")
Bindings=(Name="Decimal",Command="Walk",Alt=True)
Bindings=(Name="Multiply",Command="Tiledshot 4")
Bindings=(Name="Divide",Command="ToggleHUD")
Bindings=(Name="Divide",Command="ShowHUD",Alt=True)
Bindings=(Name="NumPadOne",Command="FOV 10")
Bindings=(Name="NumPadTwo",Command="FOV 20")
Bindings=(Name="NumPadThree",Command="FOV 30")
Bindings=(Name="NumPadFour",Command="FOV 40")
Bindings=(Name="NumPadFive",Command="FOV 50")
Bindings=(Name="NumPadSix",Command="FOV 60")
Bindings=(Name="NumPadSeven",Command="FOV 70")
Bindings=(Name="NumPadEight",Command="FOV 75")
Bindings=(Name="NumPadNine",Command="FOV 80")
Bindings=(Name="NumPadOne",Command="FOV 85",Alt=True)
Bindings=(Name="NumPadTwo",Command="FOV 95",Alt=True)
Bindings=(Name="NumPadThree",Command="FOV 100",Alt=True)
Bindings=(Name="NumPadFour",Command="FOV 105",Alt=True)
Bindings=(Name="NumPadFive",Command="FOV 110",Alt=True)
Bindings=(Name="NumPadSix",Command="FOV 115",Alt=True)
Bindings=(Name="NumPadSeven",Command="FOV 120",Alt=True)
Bindings=(Name="NumPadEight",Command="FOV 130",Alt=True)
Bindings=(Name="NumPadNine",Command="FOV 0",Alt=True)


Bindings=(Name="Add",Command="Pause",Control=False,Shift=False,Alt=False,bIgnoreCtrl=False,bIgnoreShift=False,bIgnoreAlt=False)
Bindings=(Name="Subtract",Command="PlayersOnly",Control=False,Shift=False,Alt=False,bIgnoreCtrl=False,bIgnoreShift=False,bIgnoreAlt=False)
Bindings=(Name="NumPadZero",Command="Camera Fixed",Control=False,Shift=False,Alt=False,bIgnoreCtrl=False,bIgnoreShift=False,bIgnoreAlt=False)
Bindings=(Name="NumPadZero",Command="Camera ThirdPerson",Control=False,Shift=False,Alt=True,bIgnoreCtrl=False,bIgnoreShift=False,bIgnoreAlt=False)
Bindings=(Name="Decimal",Command="Ghost",Control=False,Shift=False,Alt=False,bIgnoreCtrl=False,bIgnoreShift=False,bIgnoreAlt=False)
Bindings=(Name="Decimal",Command="Walk",Control=False,Shift=False,Alt=True,bIgnoreCtrl=False,bIgnoreShift=False,bIgnoreAlt=False)
Bindings=(Name="Multiply",Command="Tiledshot 4",Control=False,Shift=False,Alt=False,bIgnoreCtrl=False,bIgnoreShift=False,bIgnoreAlt=False)
Bindings=(Name="Divide",Command="ToggleHUD",Control=False,Shift=False,Alt=False,bIgnoreCtrl=False,bIgnoreShift=False,bIgnoreAlt=False)
Bindings=(Name="Divide",Command="ShowHUD",Control=False,Shift=False,Alt=True,bIgnoreCtrl=False,bIgnoreShift=False,bIgnoreAlt=False)
Bindings=(Name="NumPadOne",Command="FOV 10",Control=False,Shift=False,Alt=False,bIgnoreCtrl=False,bIgnoreShift=False,bIgnoreAlt=False)
Bindings=(Name="NumPadTwo",Command="FOV 20",Control=False,Shift=False,Alt=False,bIgnoreCtrl=False,bIgnoreShift=False,bIgnoreAlt=False)
Bindings=(Name="NumPadThree",Command="FOV 30",Control=False,Shift=False,Alt=False,bIgnoreCtrl=False,bIgnoreShift=False,bIgnoreAlt=False)
Bindings=(Name="NumPadFour",Command="FOV 40",Control=False,Shift=False,Alt=False,bIgnoreCtrl=False,bIgnoreShift=False,bIgnoreAlt=False)
Bindings=(Name="NumPadFive",Command="FOV 50",Control=False,Shift=False,Alt=False,bIgnoreCtrl=False,bIgnoreShift=False,bIgnoreAlt=False)
Bindings=(Name="NumPadSix",Command="FOV 60",Control=False,Shift=False,Alt=False,bIgnoreCtrl=False,bIgnoreShift=False,bIgnoreAlt=False)
Bindings=(Name="NumPadSeven",Command="FOV 70",Control=False,Shift=False,Alt=False,bIgnoreCtrl=False,bIgnoreShift=False,bIgnoreAlt=False)
Bindings=(Name="NumPadEight",Command="FOV 75",Control=False,Shift=False,Alt=False,bIgnoreCtrl=False,bIgnoreShift=False,bIgnoreAlt=False)
Bindings=(Name="NumPadNine",Command="FOV 80",Control=False,Shift=False,Alt=False,bIgnoreCtrl=False,bIgnoreShift=False,bIgnoreAlt=False)
Bindings=(Name="NumPadOne",Command="FOV 85",Control=False,Shift=False,Alt=True,bIgnoreCtrl=False,bIgnoreShift=False,bIgnoreAlt=False)
Bindings=(Name="NumPadTwo",Command="FOV 95",Control=False,Shift=False,Alt=True,bIgnoreCtrl=False,bIgnoreShift=False,bIgnoreAlt=False)
Bindings=(Name="NumPadThree",Command="FOV 100",Control=False,Shift=False,Alt=True,bIgnoreCtrl=False,bIgnoreShift=False,bIgnoreAlt=False)
Bindings=(Name="NumPadFour",Command="FOV 105",Control=False,Shift=False,Alt=True,bIgnoreCtrl=False,bIgnoreShift=False,bIgnoreAlt=False)
Bindings=(Name="NumPadFive",Command="FOV 110",Control=False,Shift=False,Alt=True,bIgnoreCtrl=False,bIgnoreShift=False,bIgnoreAlt=False)
Bindings=(Name="NumPadSix",Command="FOV 115",Control=False,Shift=False,Alt=True,bIgnoreCtrl=False,bIgnoreShift=False,bIgnoreAlt=False)
Bindings=(Name="NumPadSeven",Command="FOV 120",Control=False,Shift=False,Alt=True,bIgnoreCtrl=False,bIgnoreShift=False,bIgnoreAlt=False)
Bindings=(Name="NumPadEight",Command="FOV 130",Control=False,Shift=False,Alt=True,bIgnoreCtrl=False,bIgnoreShift=False,bIgnoreAlt=False)
Bindings=(Name="NumPadNine",Command="FOV 0",Control=False,Shift=False,Alt=True,bIgnoreCtrl=False,bIgnoreShift=False,bIgnoreAlt=False)
Bindings=(Name="N",Command="Slomo 0.3",Control=False,Shift=False,Alt=False,bIgnoreCtrl=False,bIgnoreShift=False,bIgnoreAlt=False)
Bindings=(Name="N",Command="Slomo 1.0",Control=False,Shift=False,Alt=True,bIgnoreCtrl=False,bIgnoreShift=False,bIgnoreAlt=False)
Bindings=(Name="M",Command="Slomo 0.1",Control=False,Shift=False,Alt=False,bIgnoreCtrl=False,bIgnoreShift=False,bIgnoreAlt=False)MaxSmoothedFrameRate=60[AliceGame.AliceGameEngine]
Alice1Path=..\..\..\Alice1\bin
GIsSpecialPCEdition=TRUEBindings=(Name="LeftMouseButton",Command="MeleeAttack | OnRelease QuitWeaponAttack",Control=False,Shift=False,Alt=False,bIgnoreCtrl=False,bIgnoreShift=False,bIgnoreAlt=False)
Bindings=(Name="RightMouseButton",Command="RangeWeaponFirePress | OnRelease RangeWeaponFireRelease",Control=False,Shift=False,Alt=False,bIgnoreCtrl=False,bIgnoreShift=False,bIgnoreAlt=False)CDWGame.ini
CDWSettings.ini
CDWSystemSettings.iniBindings=(Name="F4",Command="ToggleHUD")
Bindings=(Name="F5",Command="tiledshot 4 128")
Bindings=(Name="F6",Command="tiledshot 5 512")
Bindings=(Name="NumPadOne",Command="Slomo 0.1")
Bindings=(Name="NumPadTwo",Command="Slomo 0.3")
Bindings=(Name="NumPadThree",Command="Slomo 1.0")
Bindings=(Name="Add",Command="Pause")
Bindings=(Name="Subtract",Command="PlayersOnly")
Bindings=(Name="Decimal",Command="Ghost")
Bindings=(Name="Decimal",Command="Walk",Alt=True)
Bindings=(Name="Divide",Command="ToggleHUD") W that does cause cause noticeable artifacts. You can see in the image below where the specular reflection [is this the correct term?] is cut off where each tile overlaps.W than I did with C:MW. When moving towards or away from objects the textures are streamed in from low quality to high quality as you get closer to the object. This produces noticeable pop-in when pausing the action for screenshots and results in a lot of low quality textures if you are even at medium distance from your subject.
TEXTUREGROUP_World=(MinLODSize=256,MaxLODSize=2048,LODBias=0,MinMagFilter=Aniso,MipFilter=Point,MipGenSettings=TMGS_SimpleAverage)TEXTUREGROUP_World=(MinLODSize=256,MaxLODSize=2048,LODBias=0,MinMagFilter=Aniso,MipFilter=Point,MipGenSettings=TMGS_SimpleAverage,NumStreamedMips=0)TEXTUREGROUP_World=(MinLODSize=256,MaxLODSize=2048,LODBias=0,MinMagFilter=Aniso,MipFilter=Point,NumStreamedMips=0,MipGenSettings=TMGS_SimpleAverage)
TEXTUREGROUP_WorldNormalMap=(MinLODSize=256,MaxLODSize=2048,LODBias=0,MinMagFilter=Aniso,MipFilter=Point,NumStreamedMips=0,MipGenSettings=TMGS_SimpleAverage)
TEXTUREGROUP_WorldSpecular=(MinLODSize=256,MaxLODSize=2048,LODBias=0,MinMagFilter=Aniso,MipFilter=Point,NumStreamedMips=0,MipGenSettings=TMGS_SimpleAverage)
TEXTUREGROUP_Character=(MinLODSize=256,MaxLODSize=4096,LODBias=0,MinMagFilter=Aniso,MipFilter=Point,NumStreamedMips=0,MipGenSettings=TMGS_SimpleAverage)
TEXTUREGROUP_CharacterNormalMap=(MinLODSize=256,MaxLODSize=4096,LODBias=0,MinMagFilter=Aniso,MipFilter=Point,NumStreamedMips=0,MipGenSettings=TMGS_SimpleAverage)
TEXTUREGROUP_CharacterSpecular=(MinLODSize=256,MaxLODSize=4096,LODBias=0,MinMagFilter=Aniso,MipFilter=Point,NumStreamedMips=0,MipGenSettings=TMGS_SimpleAverage)
TEXTUREGROUP_Weapon=(MinLODSize=512,MaxLODSize=4096,LODBias=0,MinMagFilter=Aniso,MipFilter=Point,NumStreamedMips=0,MipGenSettings=TMGS_SimpleAverage)
TEXTUREGROUP_WeaponNormalMap=(MinLODSize=512,MaxLODSize=4096,LODBias=0,MinMagFilter=Aniso,MipFilter=Point,NumStreamedMips=0,MipGenSettings=TMGS_SimpleAverage)
TEXTUREGROUP_WeaponSpecular=(MinLODSize=512,MaxLODSize=4096,LODBias=0,MinMagFilter=Aniso,MipFilter=Point,NumStreamedMips=0,MipGenSettings=TMGS_SimpleAverage)
TEXTUREGROUP_Vehicle=(MinLODSize=512,MaxLODSize=1024,LODBias=0,MinMagFilter=Aniso,MipFilter=Point,NumStreamedMips=0,MipGenSettings=TMGS_SimpleAverage)
TEXTUREGROUP_VehicleNormalMap=(MinLODSize=512,MaxLODSize=1024,LODBias=0,MinMagFilter=Aniso,MipFilter=Point,NumStreamedMips=0,MipGenSettings=TMGS_SimpleAverage)
TEXTUREGROUP_VehicleSpecular=(MinLODSize=512,MaxLODSize=1024,LODBias=0,MinMagFilter=Aniso,MipFilter=Point,NumStreamedMips=0,MipGenSettings=TMGS_SimpleAverage)
TEXTUREGROUP_Cinematic=(MinLODSize=256,MaxLODSize=4096,LODBias=0,MinMagFilter=Aniso,MipFilter=Point,NumStreamedMips=0,MipGenSettings=TMGS_SimpleAverage)
TEXTUREGROUP_Effects=(MinLODSize=512,MaxLODSize=2048,LODBias=0,MinMagFilter=Aniso,MipFilter=Point,NumStreamedMips=0,MipGenSettings=TMGS_SimpleAverage)
TEXTUREGROUP_EffectsNotFiltered=(MinLODSize=1,MaxLODSize=4096,LODBias=0,MinMagFilter=Aniso,MipFilter=Point,NumStreamedMips=0,MipGenSettings=TMGS_SimpleAverage)
TEXTUREGROUP_Skybox=(MinLODSize=512,MaxLODSize=4096,LODBias=0,MinMagFilter=Aniso,MipFilter=Point,NumStreamedMips=0,MipGenSettings=TMGS_SimpleAverage)
TEXTUREGROUP_UI=(MinLODSize=512,MaxLODSize=1024,LODBias=0,MinMagFilter=Aniso,MipFilter=Point,NumStreamedMips=0,MipGenSettings=TMGS_SimpleAverage)
TEXTUREGROUP_Lightmap=(MinLODSize=512,MaxLODSize=4096,LODBias=0,MinMagFilter=Aniso,MipFilter=Point,NumStreamedMips=0,MipGenSettings=TMGS_SimpleAverage)
TEXTUREGROUP_Shadowmap=(MinLODSize=512,MaxLODSize=4096,LODBias=0,MinMagFilter=Aniso,MipFilter=Point,NumStreamedMips=3,MipGenSettings=TMGS_SimpleAverage)
TEXTUREGROUP_RenderTarget=(MinLODSize=1,MaxLODSize=4096,LODBias=0,MinMagFilter=Aniso,MipFilter=Point,NumStreamedMips=0,MipGenSettings=TMGS_SimpleAverage)
TEXTUREGROUP_MobileFlattened=(MinLODSize=8,MaxLODSize=256,LODBias=0,MinMagFilter=Aniso,MipFilter=Point,NumStreamedMips=0,MipGenSettings=TMGS_SimpleAverage)
TEXTUREGROUP_ProcBuilding_Face=(MinLODSize=1,MaxLODSize=1024,LODBias=0,MinMagFilter=Aniso,MipFilter=Point,NumStreamedMips=0,MipGenSettings=TMGS_SimpleAverage)
TEXTUREGROUP_ProcBuilding_LightMap=(MinLODSize=1,MaxLODSize=256,LODBias=0,MinMagFilter=Aniso,MipFilter=Point,NumStreamedMips=0,MipGenSettings=TMGS_SimpleAverage)
TEXTUREGROUP_Terrain_Heightmap=(MinLODSize=1,MaxLODSize=4096,LODBias=0,MinMagFilter=Aniso,MipFilter=Point,NumStreamedMips=0,MipGenSettings=TMGS_SimpleAverage)
TEXTUREGROUP_Terrain_Weightmap=(MinLODSize=1,MaxLODSize=4096,LODBias=0,MinMagFilter=Aniso,MipFilter=Point,NumStreamedMips=0,MipGenSettings=TMGS_SimpleAverage)
TEXTUREGROUP_ImageBasedReflection=(MinLODSize=256,MaxLODSize=4096,LODBias=0,MinMagFilter=Aniso,MipFilter=Linear,NumStreamedMips=0,MipGenSettings=TMGS_Blur5)
TEXTUREGROUP_Bokeh=(MinLODSize=1,MaxLODSize=256,LODBias=0,MinMagFilter=Linear,MipFilter=Linear,NumStreamedMips=0,MipGenSettings=TMGS_SimpleAverage)open ptb-acropolis
addbots 10
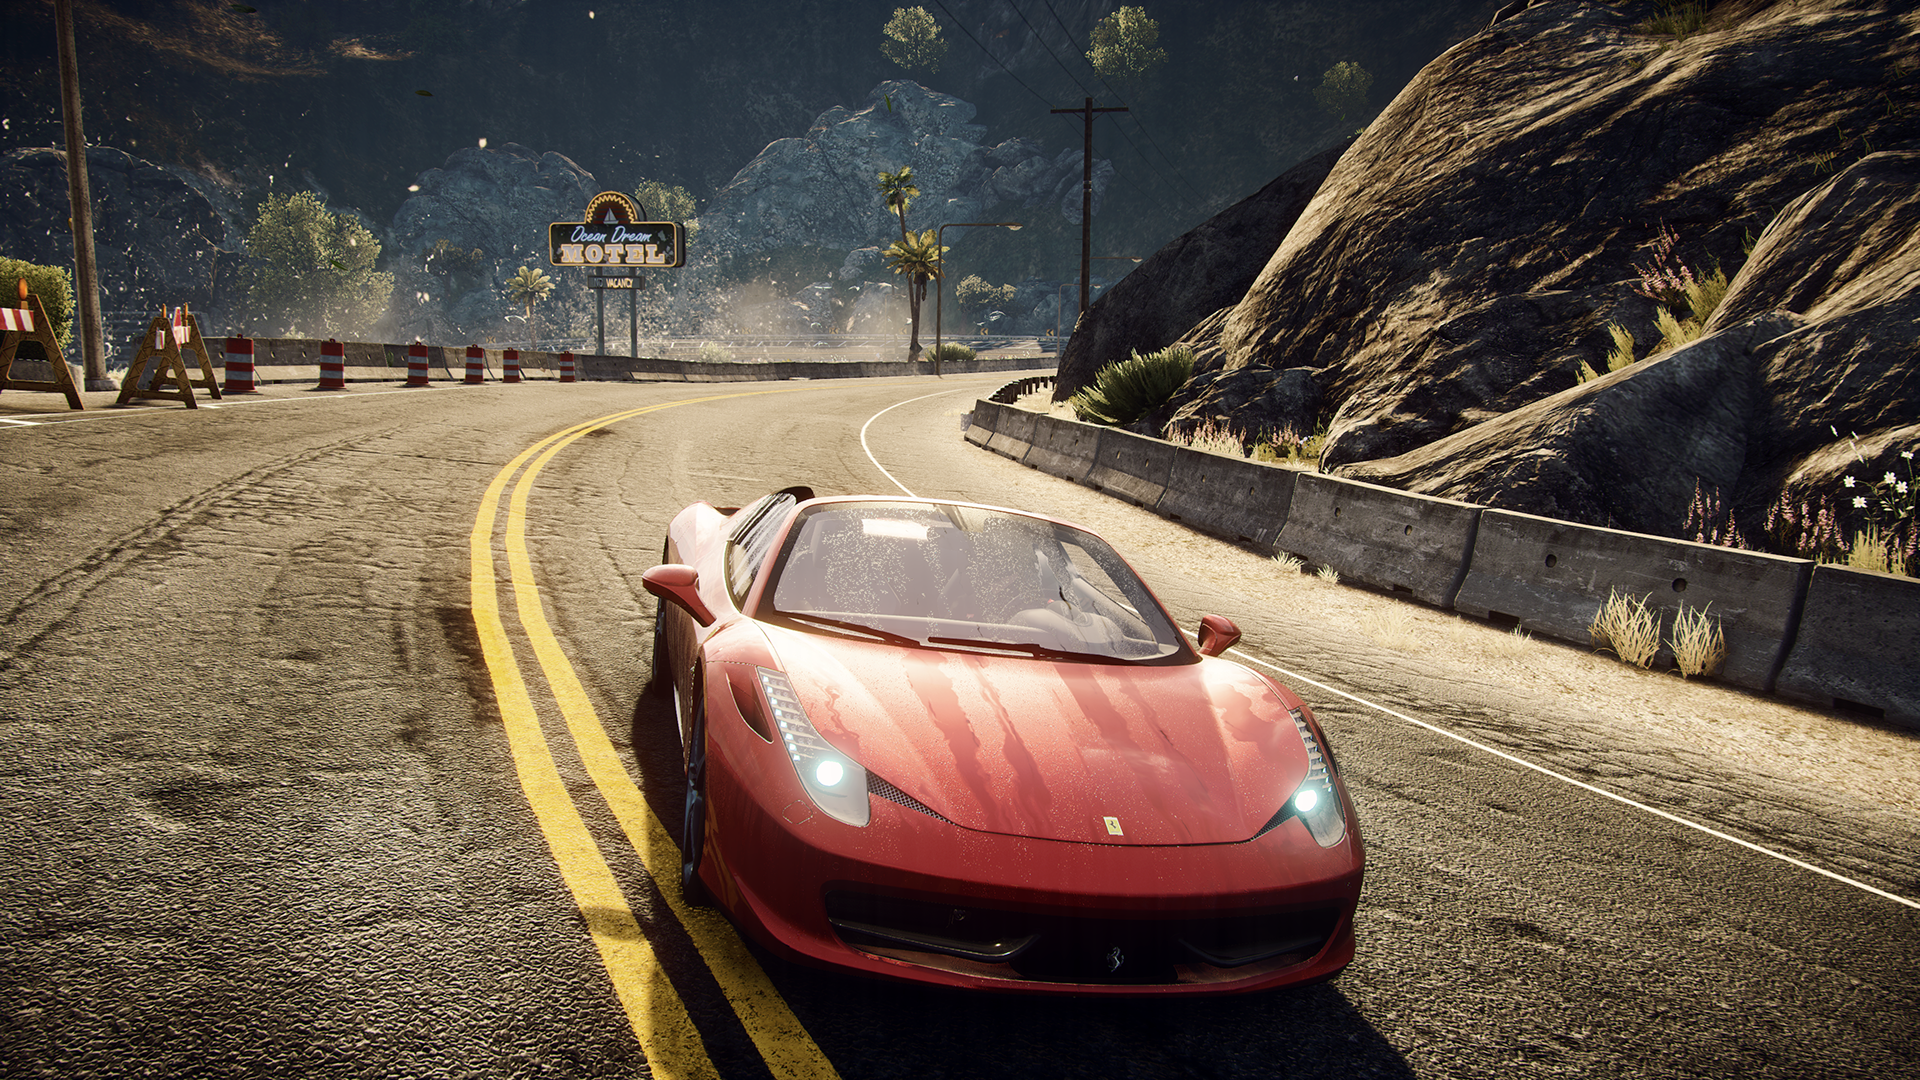
addbots 10No Hud
Go to User/Documents/Ghost Games/Need For Speed Rivals/settings/PROFILEOPTIONS_profile
set:
GstRender.ScreenSafeAreaHeight 2.000000
GstRender.ScreenSafeAreaWidth 2.000000
Save.
Ex:
Keep in mind you will have to exit and change this back to 1.0 to get the HUD back.
If there are legitimate options in the INI's to tweak, I feel like this is something that you may be able to reasonably edit with Cheat Engine so that you can toggle it between 1.0 and 2.0.
If there are legitimate options in the INI's to tweak, I feel like this is something that you may be able to reasonably edit with Cheat Engine so that you can toggle it between 1.0 and 2.0.
Nice suggestion.
Just disabled the HUD in real time.
Booya. Now to make a stable table for people
Need for Speed: Rivals - Hud Toggle
This works so far for me.
When you're actually in-game driving around, alt-tab to enable the script ("Enable HUD Toggler")
Go back in-game.
H to disable HUD
Alt + H to enable HUD
It's also the key bound to the horn. Deal with it.
I've only tested this in single player (64bit). An update will also break this, so don't add this to the first page until I have a script that will work for future updates.
This might not be the right thread to ask... anyway
I use an Elgato Camecapture HD to record video, so it's always H.264, Mpeg4, max bitrate 30Mbps. From there i take screenshots, it's far from uncompressed high quality, but for me personally it was enough.
I only use it for console screenshots, but with 1080p i start too see compression artefacts. At 720p they are not there.
Anybody know why that is? I suspect that my laptop CPU is too weak (core 2 duo 2,1 ghz, it barely made the minimum required specs).
I can't set the bitrate manually, it's all automatic. If i use a more potent PC (CPU), can i minimise compression artefacts that way or is that not the reason why i suddenly have clearly visible artefacts?
So i am encountering a strange issue with Sweet FX.
Dead space 2 continuously keeps crashing on start up with sweetFX installed.
Are you running it through steam? I had to disable my Steam overlay for that game.
I also used Boulotaur's injector for that game.
mgr.inz.Player said:AC4_WindowMode patcher:
https://drive.google.com/uc?export=download&id=0BwMAnE6mjogMdjl5UFZCVENFUG8
Copy it to AC4 dir, launch it, type y and press ENTER. Patching will start.
Pressing only enter will give you info about current mode.
Patching again will revert all changes.
mgr.inz.Player said:AC4_WindowMode patcher:
https://drive.google.com/uc?export=download&id=0BwMAnE6mjogMdjl5UFZCVENFUG8
Copy it to AC4 dir, launch it, type y and press ENTER. Patching will start.
Pressing only enter will give you info about current mode.
Patching again will revert all changes.
In action:

Just wanted to get this documented somewhere
No Hud, Hide Weapon
Find your "..Documents/Shadow Warrior/profiles/<your-profile-name>/binds.cfg" file
You may have to run the game once to generate it.
Add the following binds (change the keys to something you'd prefer)
<snip>